Having looked at the misaligned push-rods on the Buzz Calkins Indycar (see Quick Review article HERE), I decided I’d have a crack at fixing them.
The initial assembly problem. The front suspension push-rods do not connected to anything!
After removing from the plinth, 2 screws hold the model together and the main upper body has to be pulled back a bit to clear the rear suspension. I had to be really careful with the Bradley decal on the sidepod. It was already dried and cracked (this model is about 20 years old these days) and thankfully didn’t get damaged further.
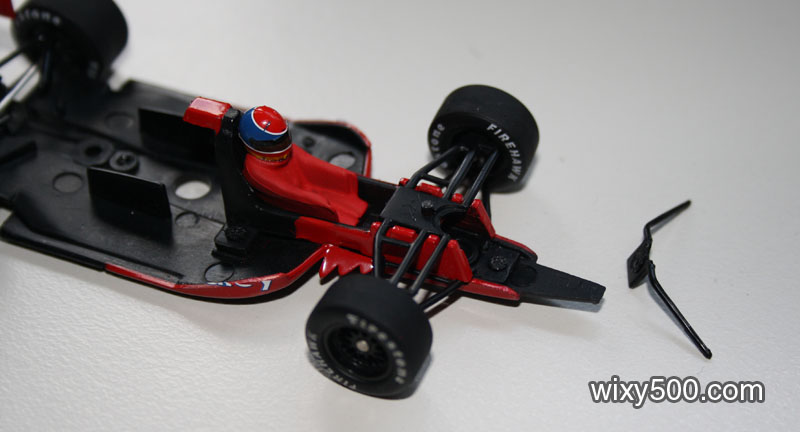
At first I thought the push-rod misalignment was because the part (right of pic) had been inserted back-to-front. Upon closer inspection, that was not possible – it’s just a really really bad fit.
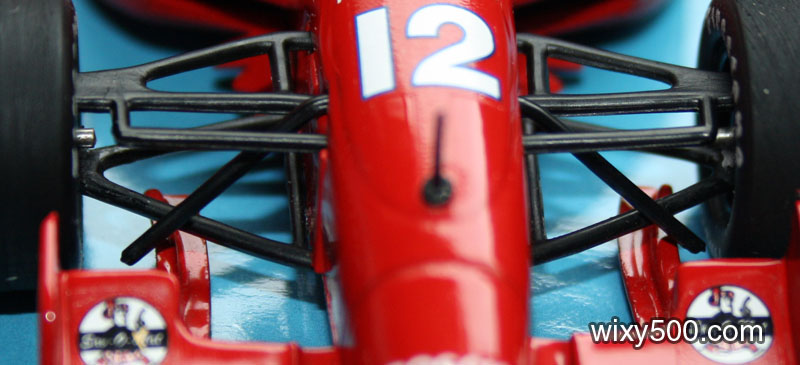
This is what’s inside a 1:43 scale Minichamps Reynard. I could not find suitable evidence of whether the jagged vortex generators (the spikes either side of the cockpit) were run or not, so I’ve left them there.
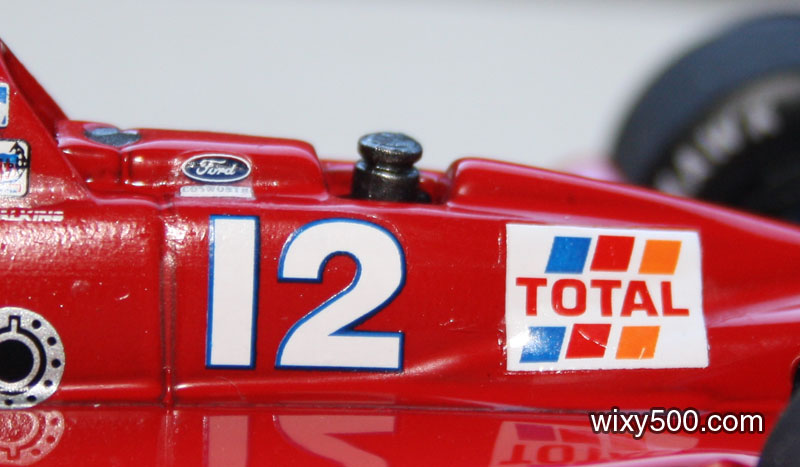
With the model split, I painted a number of items semi-gloss black – the aero pieces that run back off the front wing, inside the cockpit and around the pop-off valve recess. I also cut down the pop-off valve and painted it gun-metal.
I cut both push-rods off the mounting tab, straightened them out and glued each one back in place individually.
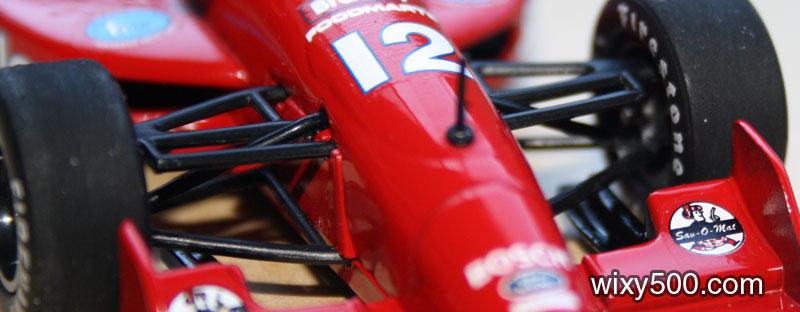
Suspension arms after re-assemblyNew-look pop-off valve is simply the original cut down and re-painted. With the body split, it was easy to push out and glue back inAfter re-assembly. Note the darker colour inside the cockpit. I also painted the front axle pins a dark metallic to closer resemble the real wheel nut. The Bradley decals on the sidepod were already cracked. If they had not been, I would not have split the body to do the modifications, but as they were damaged anyway, I thought ‘why not have a crack?’.
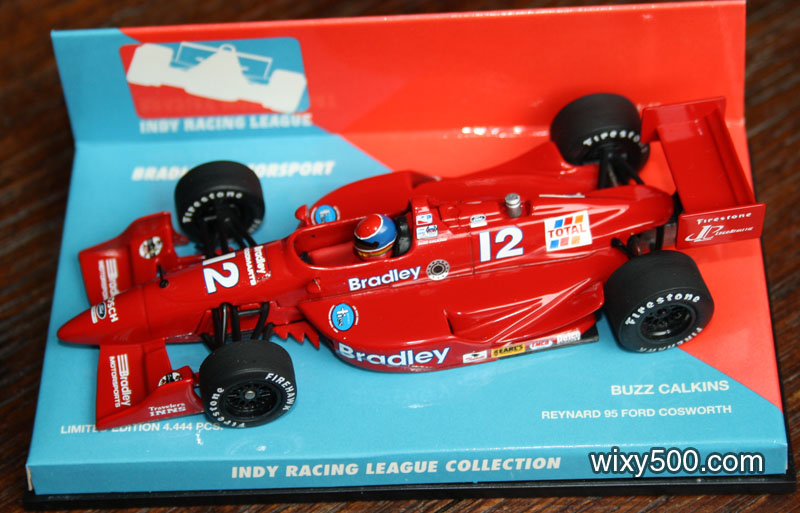
Once this little ‘fix and enhance’ job was done, I thought I’d change the way the model was displayed. Minichamps have for a long time mounted their models at an angle on a plinth that is lined with a decorative card inlay. Some of the inlays are ok, but some, in my opinion, really take the focus off the model. So, it was out with the inlay card and time to straighten the model on the plinth.
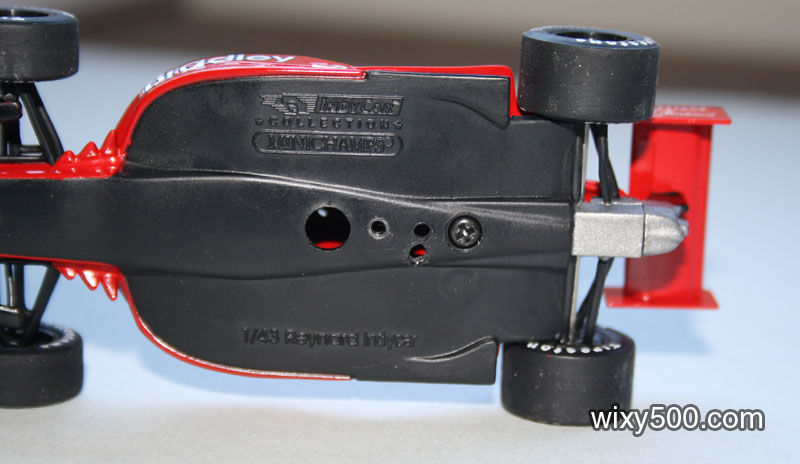
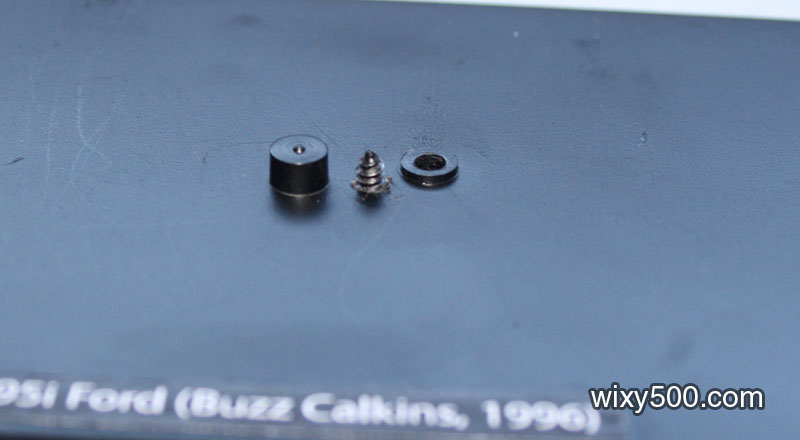
Underbody showing (from left to right) the big hole that lines up with the spigot on the plinth; my ‘new’ mounting hole, the first offset hole I tried (it was a failure – when the screw was tightened, the model had diagonal wheels sticking up in the air!) and the original screw hole.I drilled a new screw hole between the mounting spigot and original screw hole, which was manufactured with a lip. To get a satisfactory sit on the model when the screw was tight (remember, there was no card acting as a spacer), the lip had to be removed (see below).
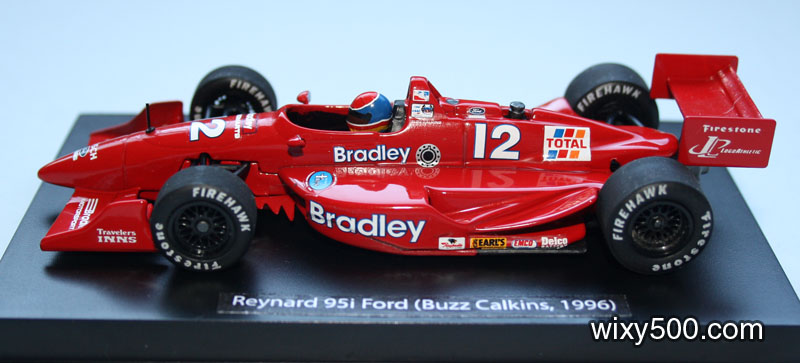
How the model now displays. I far prefer this look compared to the gaudy red/blue insert card provided by Minichamps (below). I just need to work out a cleaner system for the car/driver label.