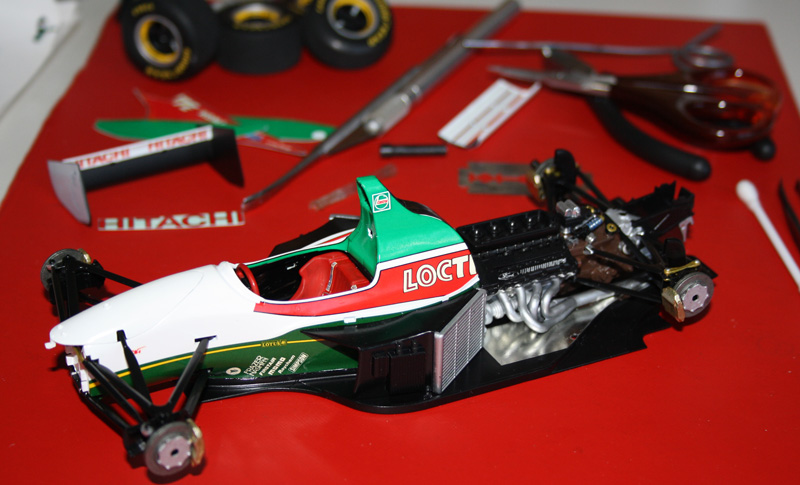
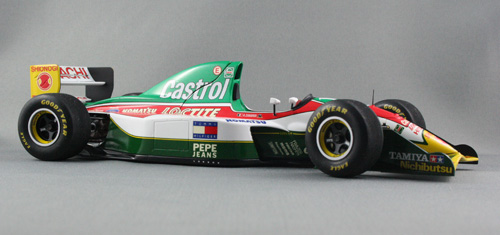
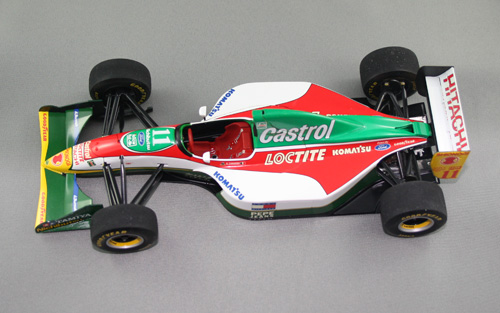
I like the shape of the Lotus 107B and the colour scheme of this 1993 version is pretty stunning, if somewhat busy. It just had to be built as the Alex Zanardi version 🙂
The kit was a nightmare to decal but came together easily just like other kits in the GP series. It was a standard out-of-box build with no extra detailing. The only enhancement was use of metal foil on the floor and a few other places instead of paint, plus a scratch-built aerial. The main body was painted with Tamiya TS-26 white, sprayed straight out of the can (all the coloured bits are decal).
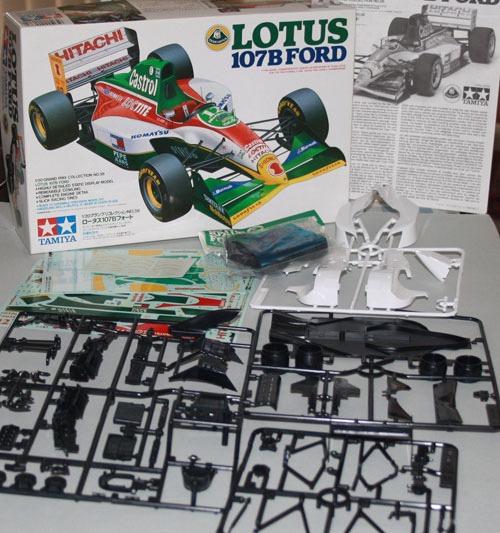
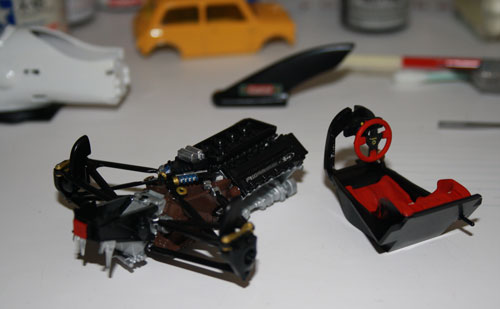
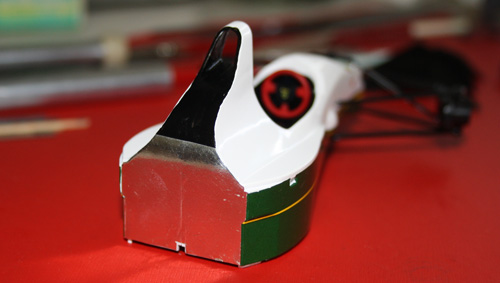
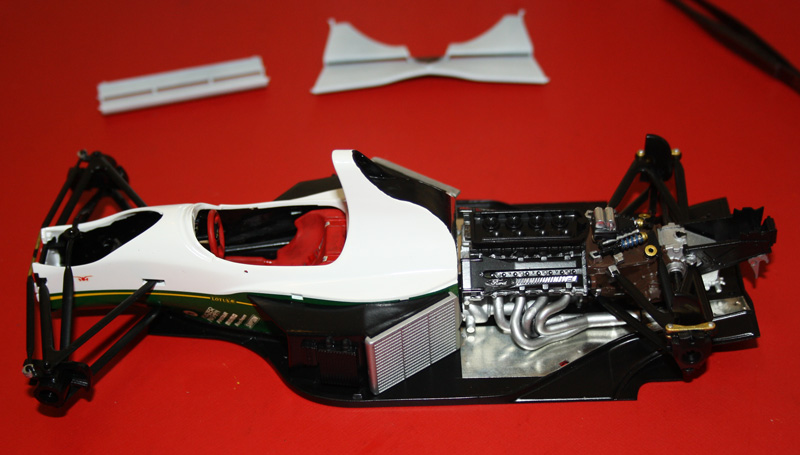
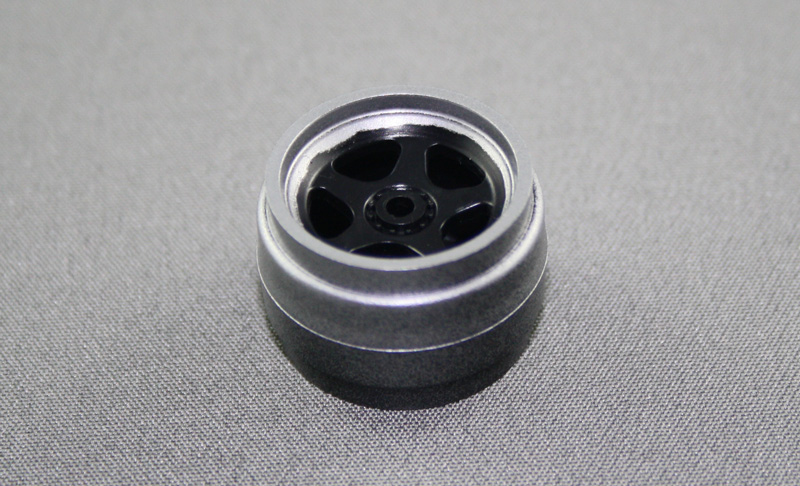
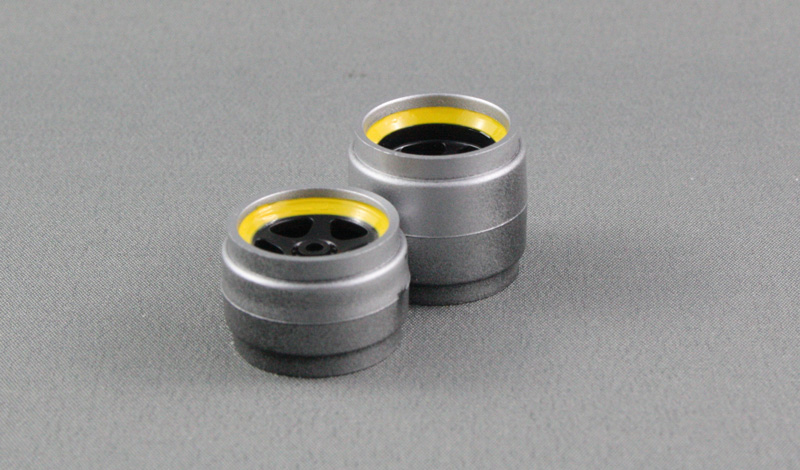
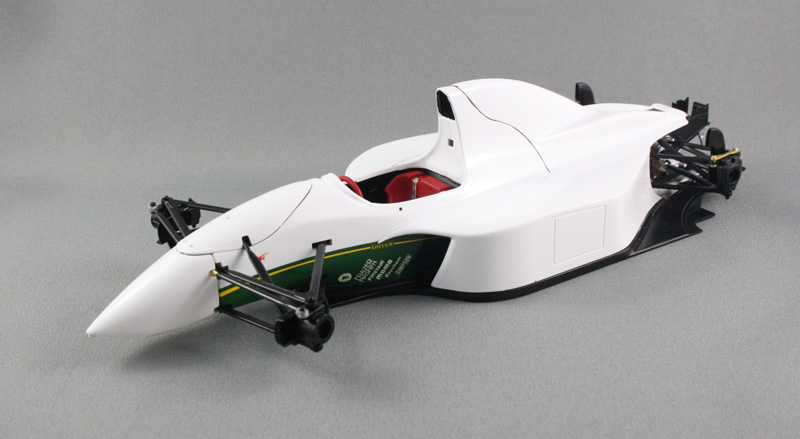
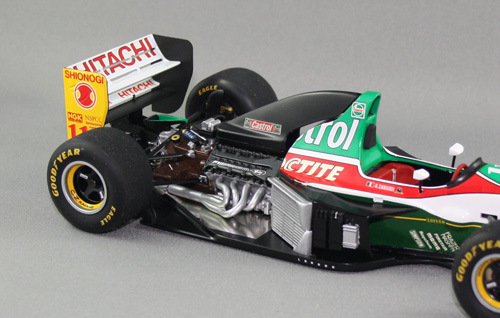
The parts in Tamiya kit #20038. There are TWO decal sheets required to build this kitEngine/gearbox and cockpit modules done. Airbox and monocoque in the backgroundBuilding this kit Out-Of-Box and using the decals rather than mask and spray the colour scheme. Where decals go over suspension pickup points, I don’t cut the decal beforehand, but simply apply it and let it dry.I then use a razor blade to cut into the corners of the decal. Once hit with decal softener, the loose edges wrap into the pickup hole.Once dry, a quick dab of semi-glass black simulates the carbon look of inside the pickup aperture. Not sure if that’s what other builders do, but it’s what I do 🙂Rather than painting, I’ve used metal foil for the heat shield on the back of the monocoque/tubThe tub, radiators and the engine/gearbox assembly now glued to the floor trayI cut out some discs from adhesive vinyl to act as masking blanks before spraying the rims in aluminium colourThe masking line between the black and silver will be hidden by yellow OZ Racing (the wheel manufacturer) decalsRims turned out pretty good for something I was expecting to be a real headache!Bodywork ‘mock-up’ test fit. I should have done this before any decals were applied – without wings etc, the 107B has a really nice shape.
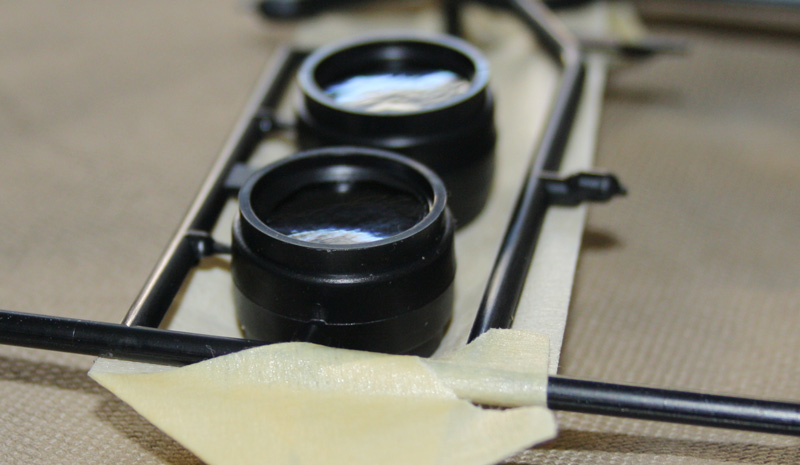
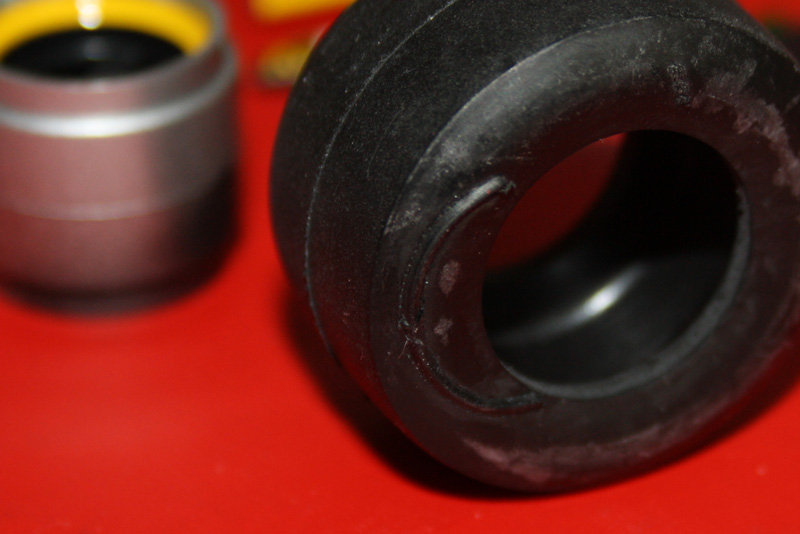
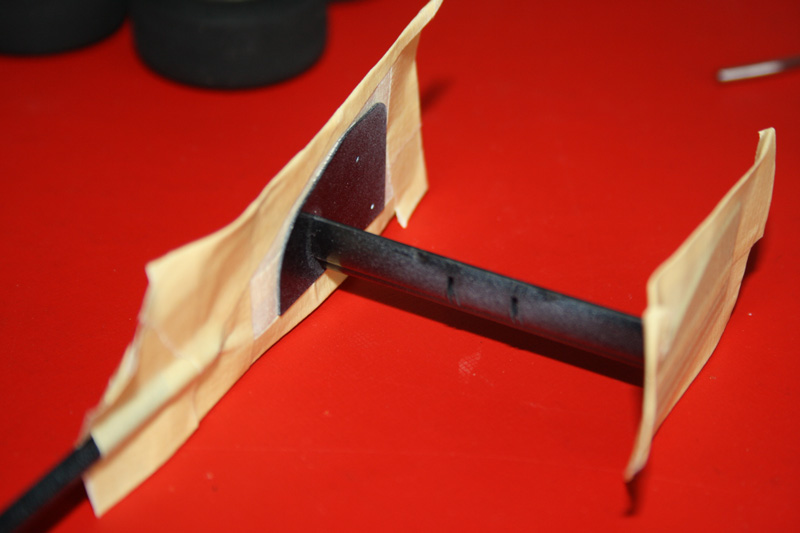
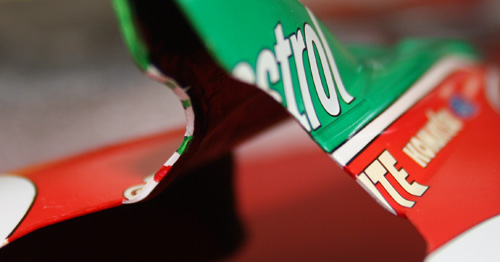
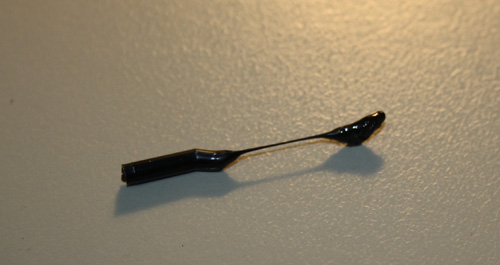
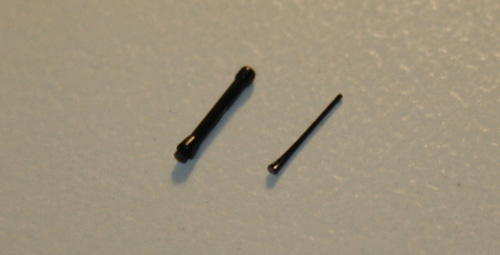
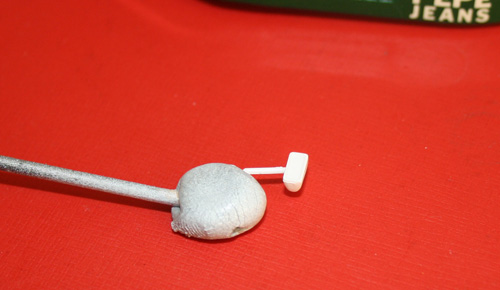
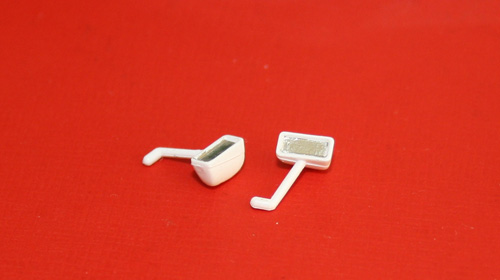
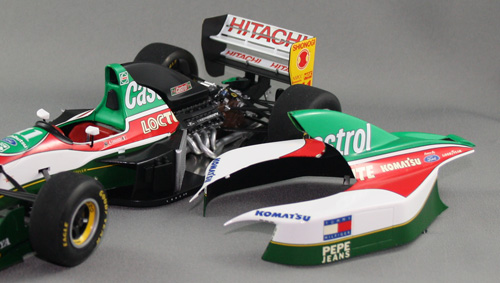
Have you ever seen this on a tyre from Tamiya? It appeared to be a major flaw moulded into the rubber. Thankfully, when I started working on removing it, the entire piece came off and was easily cleaned up.The outer sides of the rear wing endplates were given a quick coating of white primer to ensure the yellow decals that have to be applied will not be muddy from the black plastic. I then masked the outsides to hit the inside and lower wing with semi-gloss black.Part way through the decaling process… Completed wheels/tyres and partially completed rear wing in the background.Nosecone glued in place (I’ve decided to fit the front wing later to ensure it sits flat once the wheels are in place. Instructions say put the wing on the nose before fitting it to the car) and further decal progress on the tub. Everything is lining up so far!After decalling the tub, I fitted the engine cover and used the tub decals as a guide for alignment. Not sure why the green oval decal on the scuttle does not fit well inside the red as the red decal appears to line up correctly!Big Castrol decal needs to be cut before the engine cover can come offThis nose decal was a bitch! In hindsight, it should be applied before the wing is fixed to the nose cone, but I was hoping it would come down and cover the very tip (where the white primer is showing through). It didn’t, so out with the paint brush for that!This really shits me, and it was the second time it had happened with this kit – removal of a decal from water revealed it was broken (also happened on one of the large red bits on the engine cover).How that tear ended up on the finished engine cover.If I knew then what I know now, I’d have trimmed back the edge of the lighter green decals more heavily. They had a heavy ink buildup on the very edge (see the darker lines?) and, as the decals were a little oversize, much more of it could have been trimmed prior to application. No clear coat on this model. I reckon the finish of paint and decals here isn’t too bad.I like to hand paint around the edges of the engine cover to reflect what’s at the edge of the bodywork. I just reckon it gives a nicer finish when the cover is on, especially if the body doesn’t fit snug.I decided to scratch-build the aerial from left over sprue. Simply heat with a flame and stretch – but ensure it cools before letting go, otherwise it curls back or snaps!Tamiya aerial (left) Vs my aerialFiddly bloody mirrors! I cut them from the sprue, clean them up a bit, blu-tac to a toothpick which I push into a foam block so I can hold them to spray. The white I used on this model is Tamiya TS26, straight out of the can.I was going to hand paint the mirror surface with Chrome Silver, but elected to use metal foil instead. After painting the stalks semi-gloss black, they were fitted to the modelComplete! (with engine cover off)
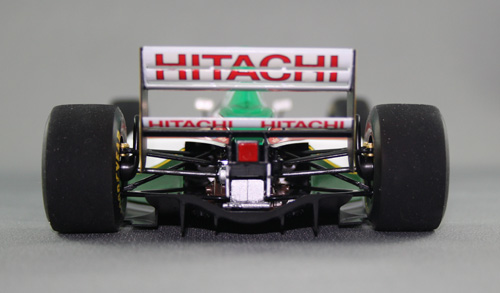
Sweet stance and ground clearance 🙂
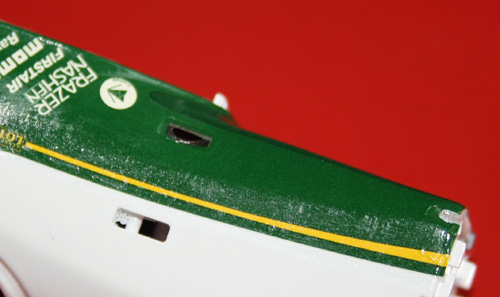
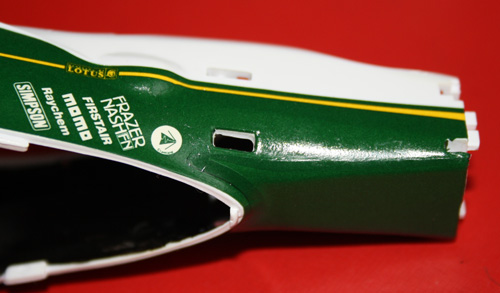
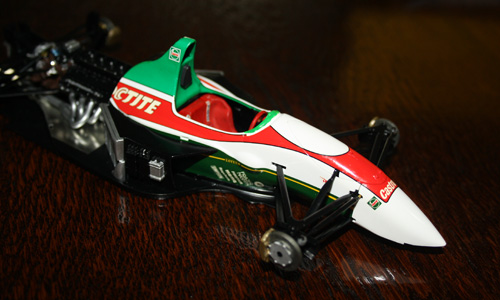
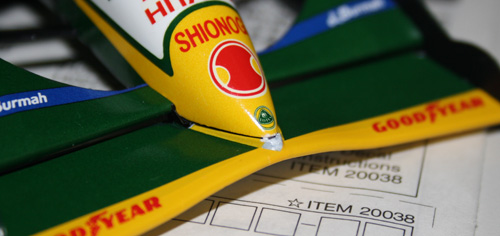
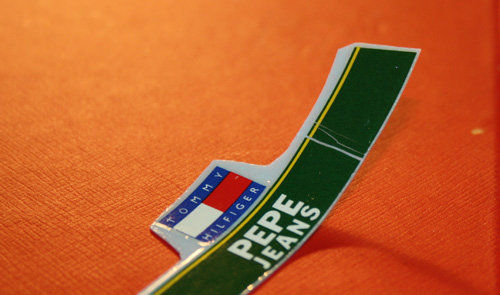
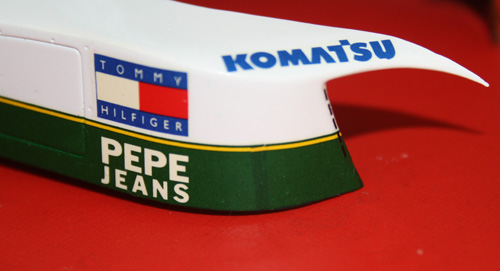
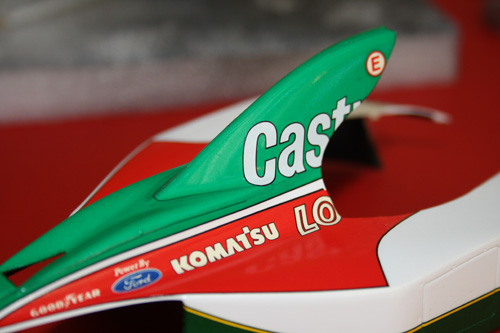
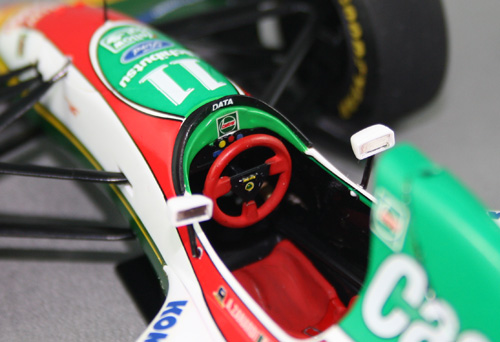
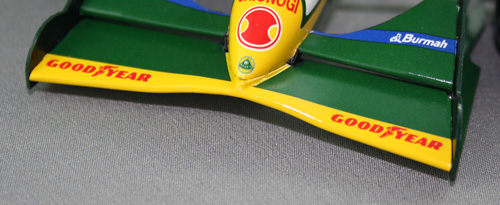
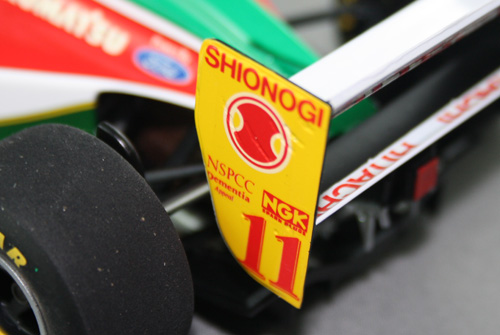
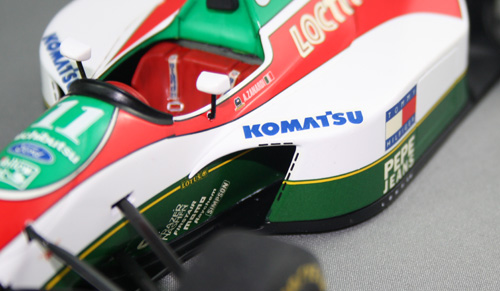
Narrower rear tyres were introduced to Formula One for 1993. Pity.Cockpit detail and decals. The ‘Park Green’ (Tamiya X-28) that the instructions stipulate for behind the windshield is not a match for the Castrol green decalsThe complex curve of the front wing made the big full-width yellow decal that wraps around the leading edge a bit of a pain.One big yellow decal covers the rear wing endplates. Decal softener encourages it to snuggle into the recesses and show the moulded detail of the wing adjustersVents on the leading edge of the sidepod intake are replicated by decal
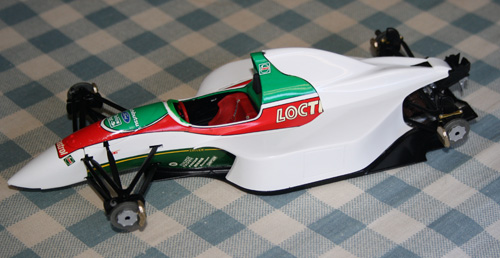
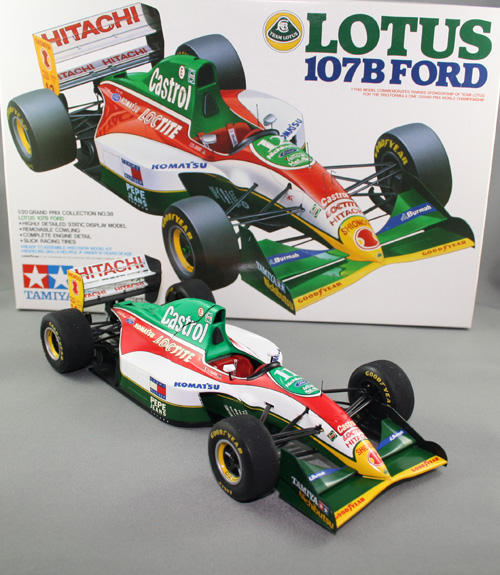
As good as the box art? No. But it does look ok I reckon!