Apex Replicas have done the 2017 Preston Hire VF Commodore of Lee Holdsworth in 1:18 scale, but the car was never modelled in 1:43. However, Biante has done a diecast VF in 43rd, and the decals were available aftermarket from Patto’s Place…
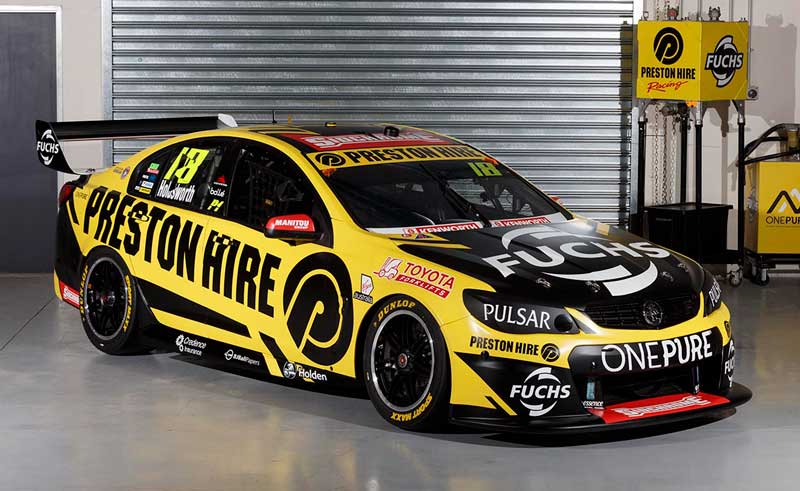
The donor – Biante’s “Plain Body Prototype – White” Holden VF Commdore Supercar. Would have been perfect if this project was a white car.The decal sheet as illustrated on Patto’s Place website. The livery is more-or-less how the car was presented at the beginning of the season (the design evolved a little during the year and the team ran a unique split-livery at the Sandown Retro Round).Press photo of the real thing, 2017 team launch.
I believe Patto’s decals are made to suit vac-formed slot car bodies. As such, they’re rather compromised, however they at least allow a range of models to be created of cars not manufactured commercially. Patto re-scales the size up and down to suit 1:64, 1:43, 1:32, 1:24, 1:18, 1:12 and even 1:10, so if you’ve got a donor model, the scale is not really an issue.
For this project, I ordered the decals with the yellow body colour deleted. The decals are not designed to specifically fit Biante’s casting so I felt there would be far bigger issues trying to ‘wrap’ the entire car compared to just spraying the model yellow.
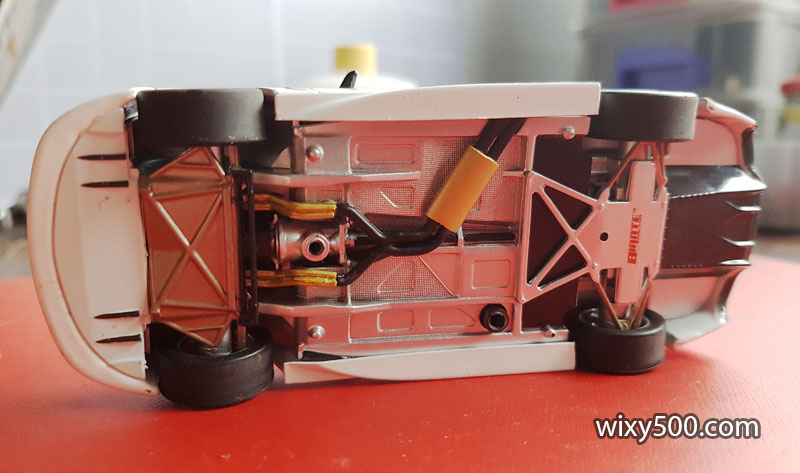
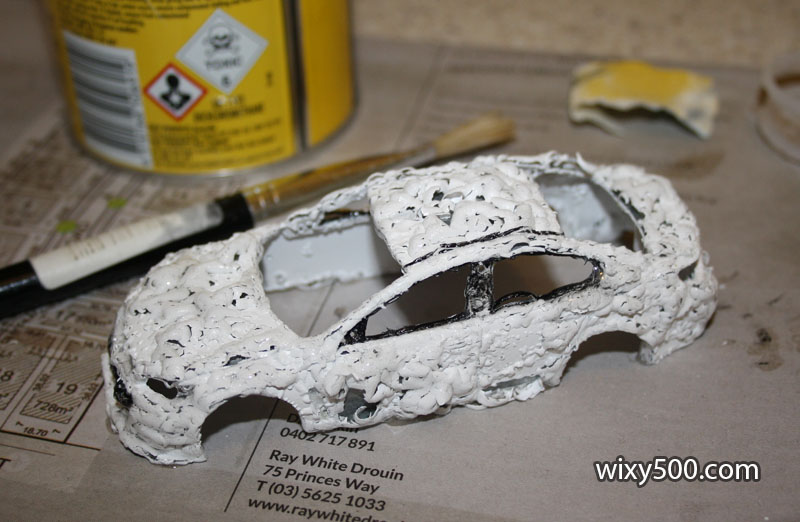
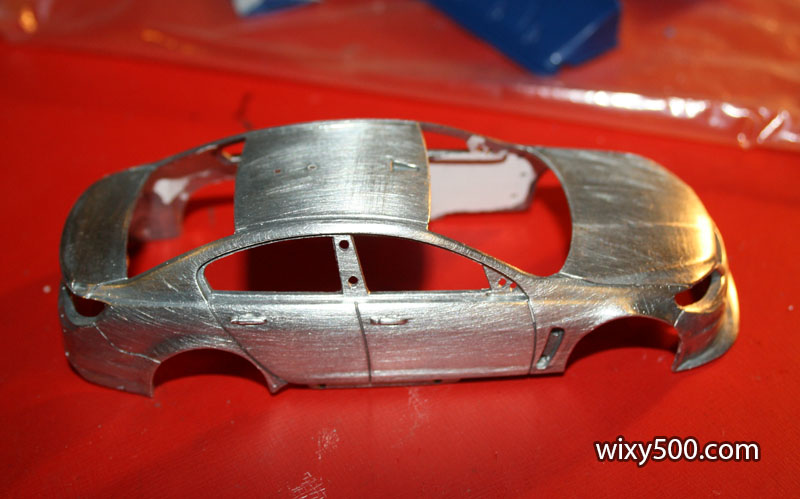
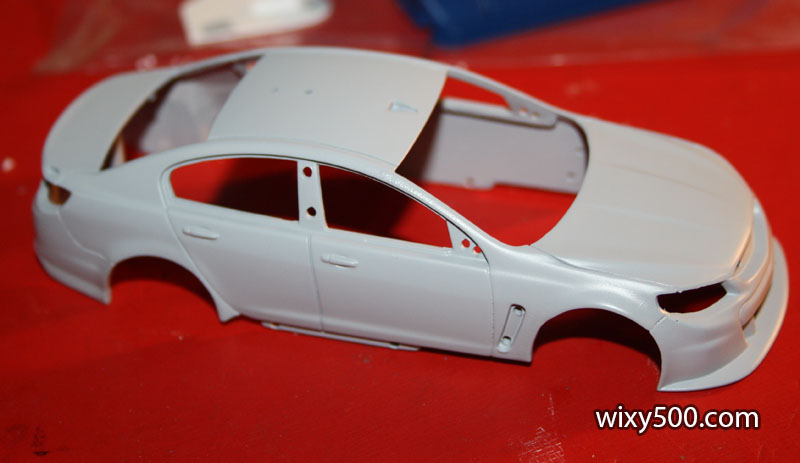
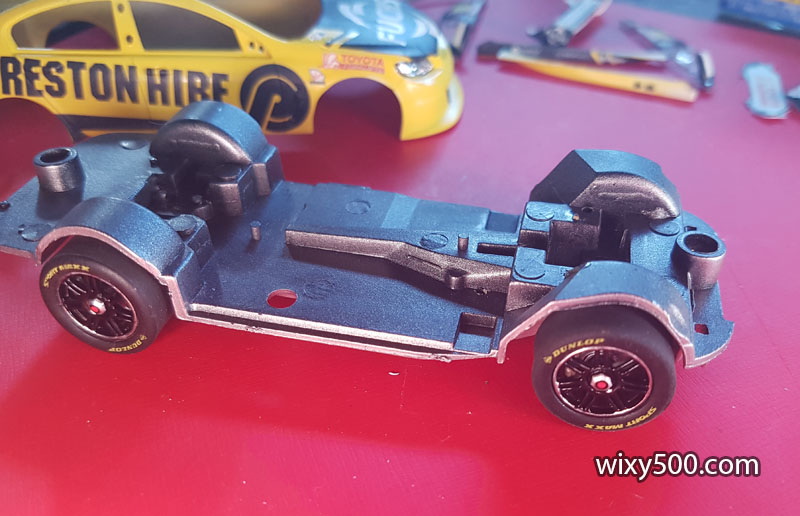
Ever wondered what was underneath one of these? Well, now you know. Not a screw in sight…Let me tell you, Biante didn’t design these things to come apart easily! It’s quite an effort to disassemble to this state – I got away with only breaking a wheel and headlight, but there’s a lot to go wrong. I sure would like to know what glue they use on these – it’s bloody good!Paint stripper took the factory finish off in seconds.Body ready for primer after stripping of paint, removal of leftover assembly glue, sanding and a wash.Grey primer, straight out of the can.
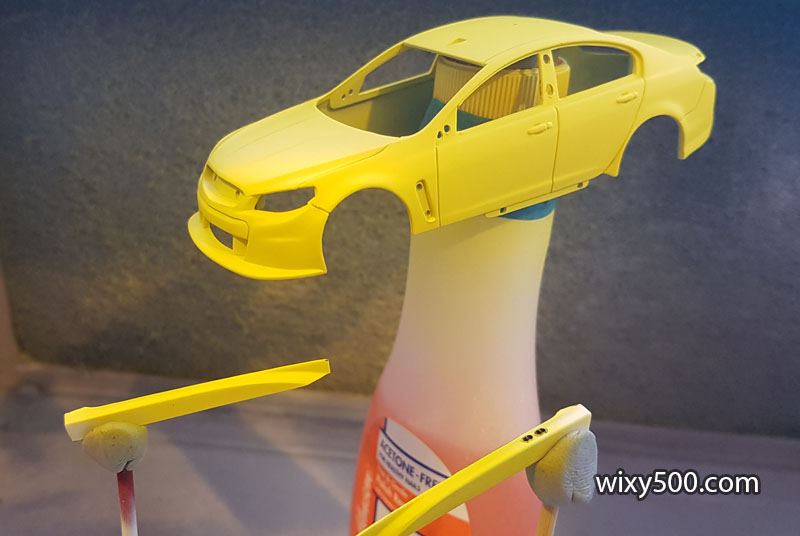
I usually paint with Tamiya products and these days typically use TS spray cans for body colour, decanted to run through my airbrush. However the colour range does not match what other brands have, so I decided to experiment with Vallejo’s acrylics on this project as they had a closer match yellow than what Tamiya’s TS range could offer.
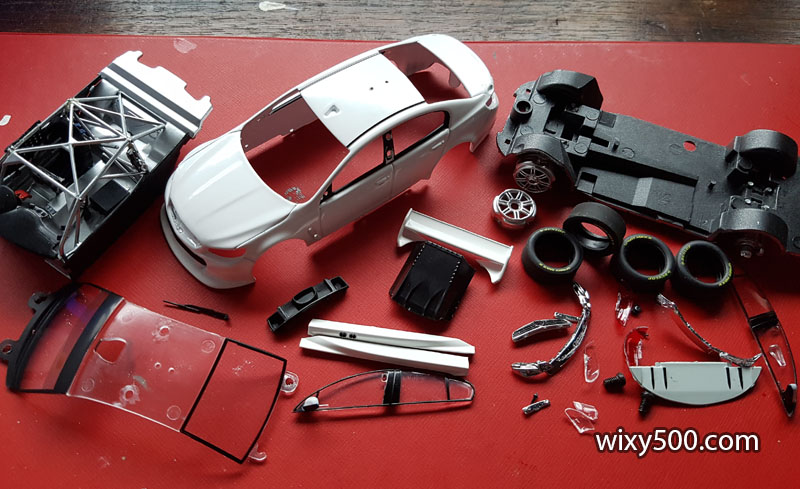
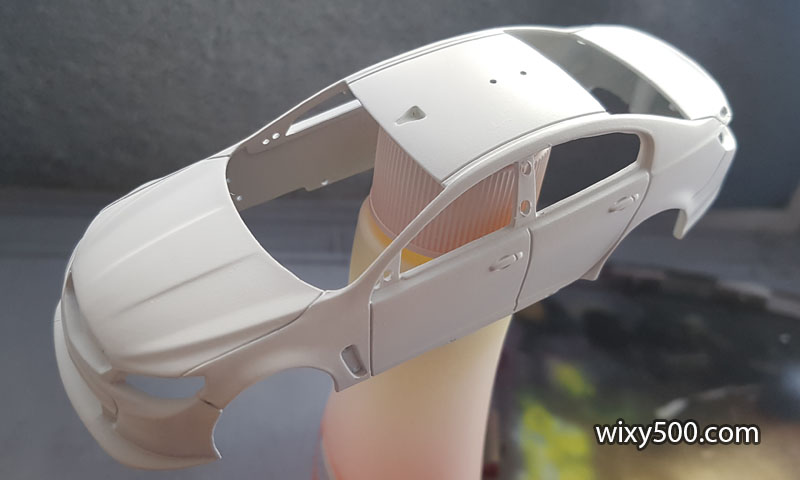
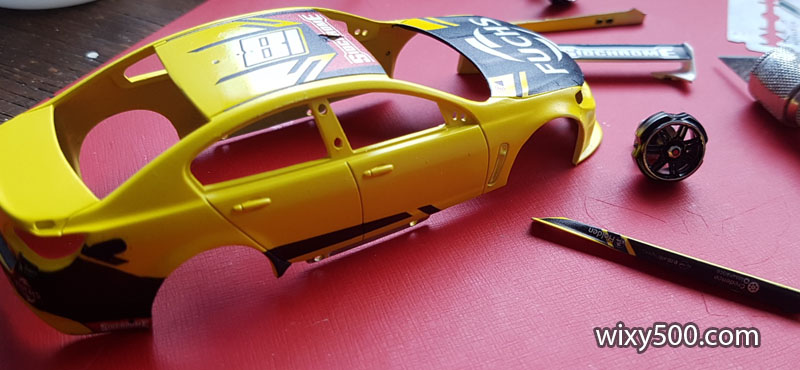
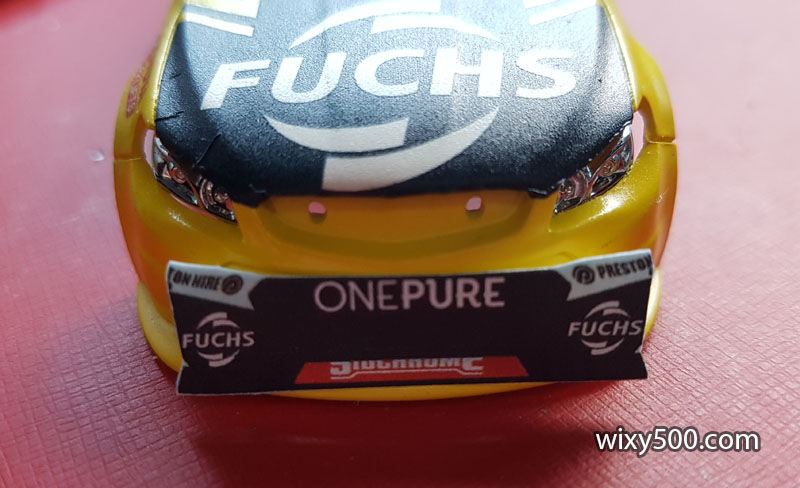
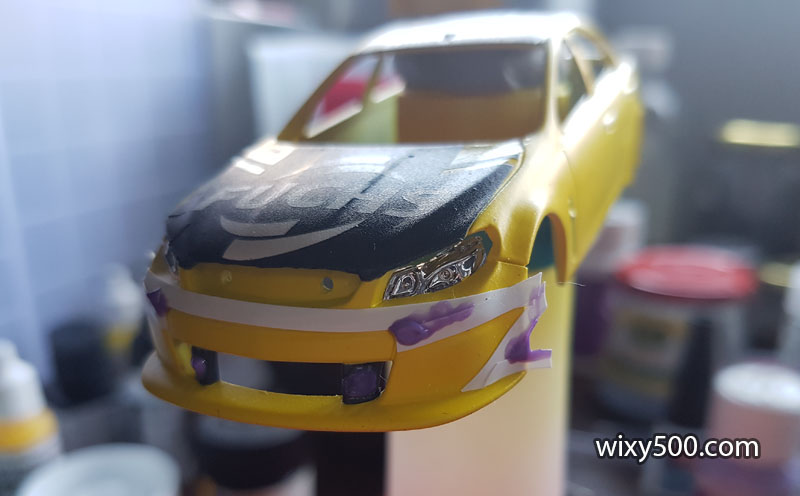
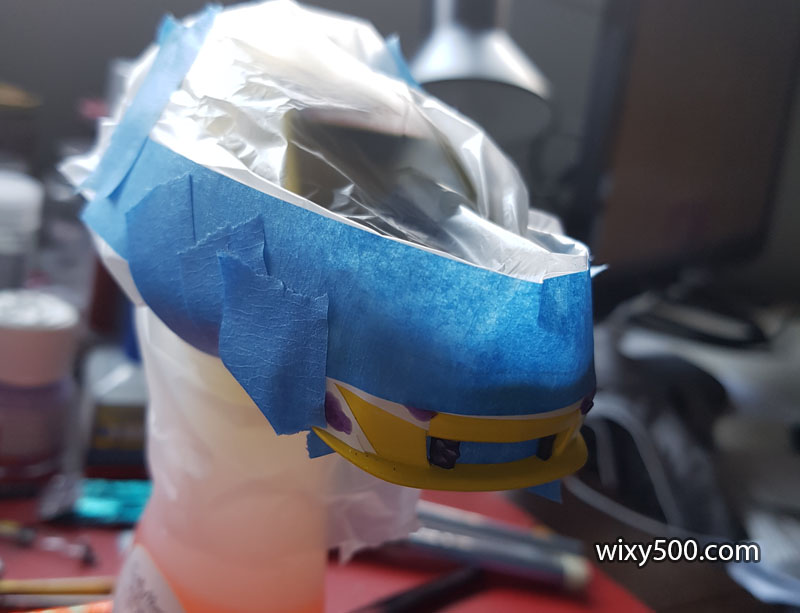
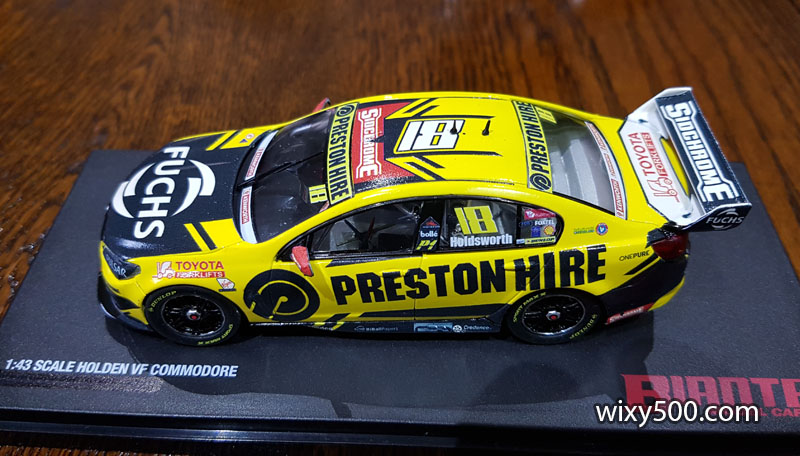
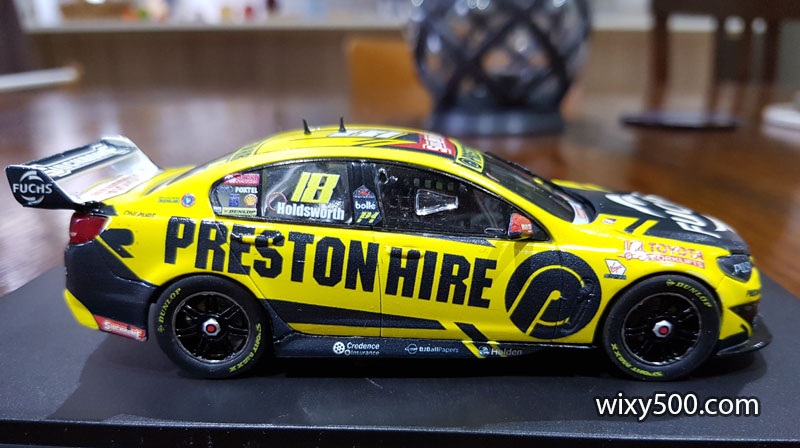
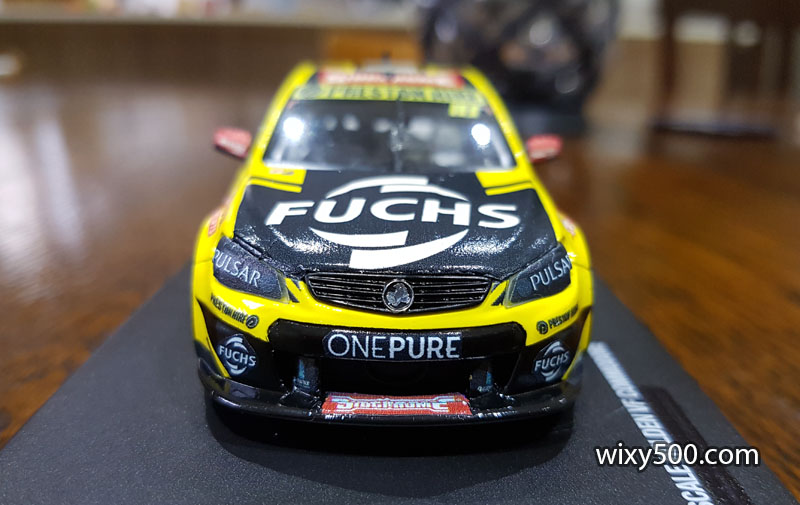
The Vallejo yellow over grey primer gave a weird greenish look when dry (sorry, forgot to photograph!), so it was back to the paint stripper, then white primer for attempt number two.The Vallejo colour dries with a matt finish. A coat of Vallejo Clear Varnish went on before any decals were applied.Each decal is cut out individually and applied to the body. None of them were a perfect fit, but with some fine trimming, decal softener and very careful coaxing, most were able to do the job.The ink surface of Patto’s decals is quite rough, as can be seen in the light of this pic.Roof decal is too short, bonnet decal too narrow (and I creased the leading edge – oops). The side decal needs to be cut as part of it has to go on the lower skirt.With the tyres removed, the wheels were sprayed gloss back (wheel nuts were masked first) followed by very careful use of a chrome pen to simulate the machined rim edge. Decalled side windows are in the background.Wheels/axles refitted to the chassis base. Looks more like a Super Ute than a Supercar!Front bar decal is useless (I don’t know why I didn’t test or measure this before I started)Masking of the front bar so I can hit it with semi-glass black (semi-gloss to match the decal finish).Because I’d already started decalling, the rest of the model had to be protected. Tape and a freezer bag did the job.After the decals were done, the model was hit with Pledge One Go, an acrylic floor polish (Patto’s recommendation as Tamiya’s TS-13 clear is a bit ‘hot’ for the ink Patto uses). Window insert, light lenses, grill etc were then CA glued into place.Done! The result of a 3 month conversion.
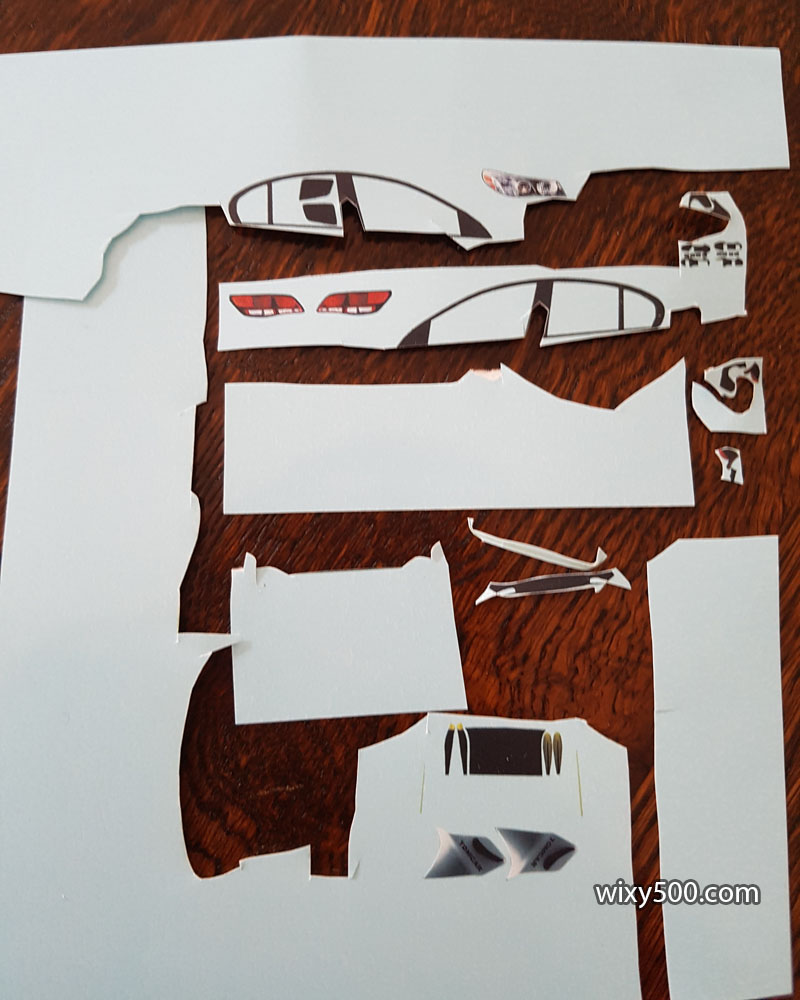
The unused decals. The ones at the bottom of the photo (for inside the rear wing end plates) were unusable due to the gradient shade.
The finished model is far from perfect, but I’m happy to have it in my collection as a representation of this race car in this scale.
Build Tips:
Order the decals with the yellow body colour deleted
If you have the equipment and the skills, mask spray as much of the black as you can BEFORE doing any decal work
A permanent marker or Sharpie pen can be easier than a paint brush for filling in the black window edges, decal touch-ups etc
If you use Vallejo paint, decal softener reacts with it – so go easy!
Looks like a bought one!
2 thoughts on “2017 VF Supercar Conversion, Holdsworth (Biante 1:43)”
Hi if can get plane boby Commodore can you do me one please
Hi Shane, I don’t really have the time – not even getting conversions completed for my own collection at the moment. I’ll send you an email shortly. Cheers, MW


Hi if can get plane boby Commodore can you do me one please
Hi Shane, I don’t really have the time – not even getting conversions completed for my own collection at the moment. I’ll send you an email shortly. Cheers, MW