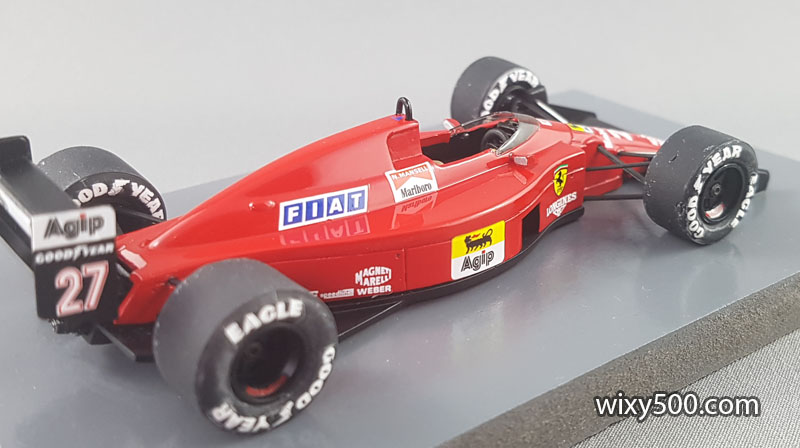
Tameo’s kit of Ferrari’s early season F1/89 Grand Prix car is typical of its 1/43 scale range of the era. Despite now being quite an old kit, the model built up okay, though there were a couple of fitment issues – some caused by Tameo, some caused by me!
I elected to build the Nigel Mansell Brazil GP race winning version.
The Car
This car is historically significant – it was the first Formula One racer to feature a semi-automatic gearbox with electro-hydraulic shift via paddles behind the steering wheel. The F1/89 (also commonly referred to as the Ferrari 640) features a 3.5 litre normally aspirated V12 engine. It’s unusual shape came from the pen of designer John Barnard who was looking to optimise internal airflow.
Amazingly, it won on debut. The car was notoriously unreliable in development and testing, so the team was not expecting it to finish, never mind win. Urban legend has it that Mansell had even booked an early flight home, but missed it because the car held together! The victory was also Mansell’s first for Ferrari, winning on his debut drive with the Italian team.
Mansell in the F189 in Brazil (pic – Ferrari)
Despite being down on power to the McLaren-Hondas, the F189 was generally quite competitive (two wins for Mansell, one for Gerhard Berger) but often let down by reliability. The car evolved significantly over the season; a high-airbox version ran from the fourth round onwards and improvements to electronics increased reliability. When the car finished, it was always on the podium.
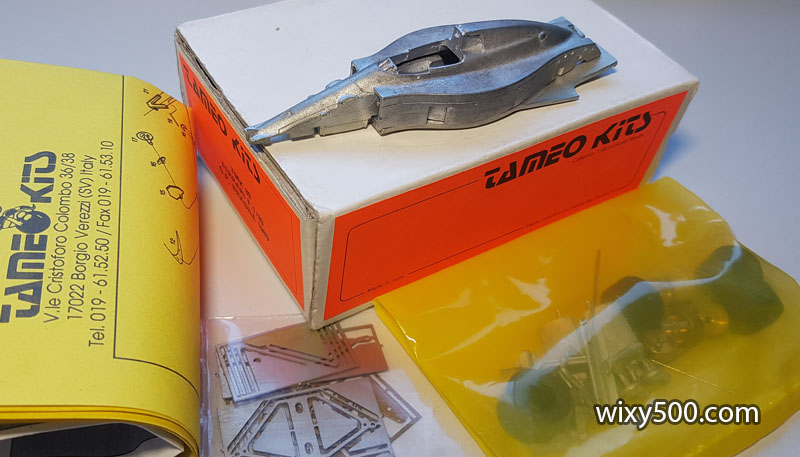
The Model
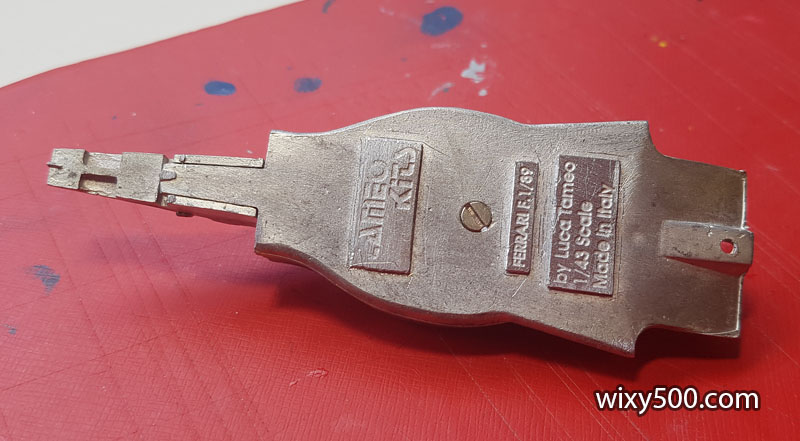
Tameo kit number TMK-89, Ferrari F1/89 Brazil Grand Prix. The kit is cast in white metal for the body, base and some other parts, plus photo etch suspension & wing pieces, vac-formed windscreen and hard rubber tyres. Decals allow to build either the Nigel Mansell #27 or Gerhard Berger #28 version. Instructions are basic single sheet, plus another sheet of black & white reference photos of the real car.
Interestingly, Tameo has re-released the F1/89 as a vastly improved kit (item number TMK 369) with totally new tooling that creates a more accurate shape with lots more detail. It’s also available as a limited edition factory build (# TB-004).
Tameo kit TMK 89, Ferrari F1/89 Brazil Grand Prix 1989. This early season version has the low engine cover with side intakes.
The Build
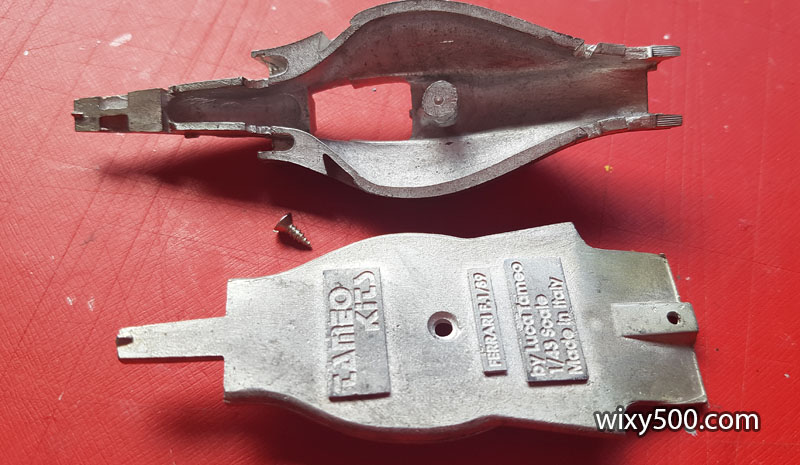
First step is usually parts clean-up, but with this kit it was checking the alignment and fixing of the two main parts – the bodywork and the floor.
The two main castings (upper body and lower floor) are held together with a self-tapping screw that’s supplied in the kit. A hole needs to be drilled in the top body to secure and position it on the floor.
The raised blocks on the underside of the model (see previous photo) are not part of the real race car, but serve a purpose with this build. With the body secured (temporarily) to the floor, I ran the model back and forth on some sandpaper to wear the blocks down a little.
I decided to build the model resting on these blocks, so they set the ride height and rake. By doing this, the wheels will not be bearing the load of the model (being white metal, it’s kinda heavy for its size).
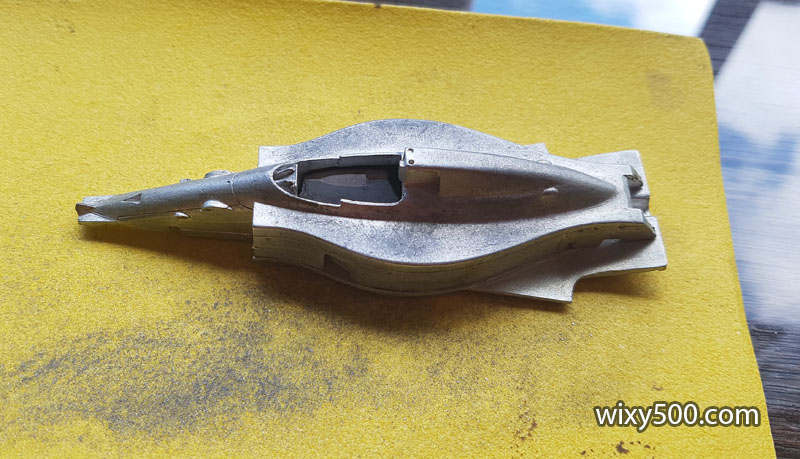
The floor after grinding. Pretty much all the cast parts required some form of clean-up; some only minor, but some (like the tip of the nose) required careful sanding and shaping.
Floor mounts to the plinth with two self-tapping screws. Their position had to be carefully determined to ensure they didn’t impede internal parts of the model. Also, the profile and tapering of the sidepods on the main body is not identical to the curvature that’s moulded into floor. My guess is that was fixed on the re-release…
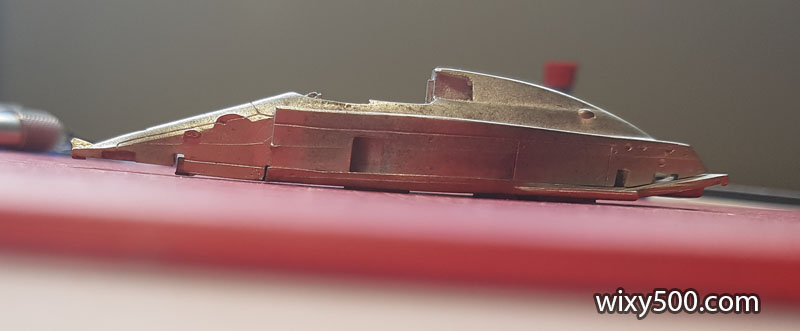
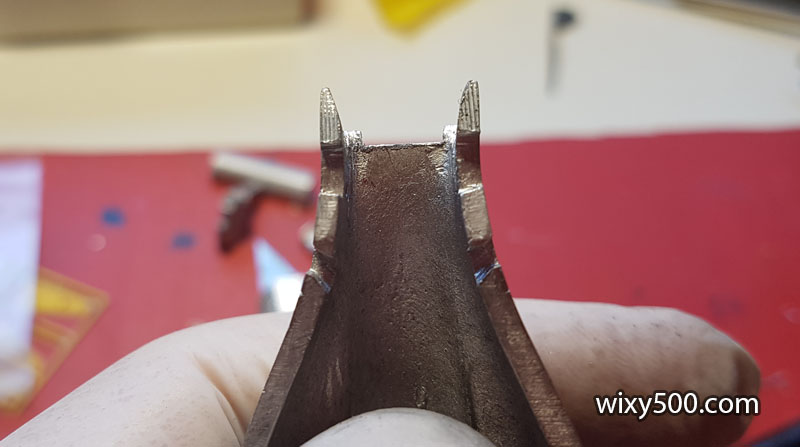
Prep on the casting begins. This is the rear diffuser, which is overly thick. I’ve used a file to thin the right side of the floor (compare to the left side, which in this photo is untouched).
Same deal with the rear bodywork where the hot air exits (right side here is untouched)
Rear from underneath shows the new tapered shape to give the illusion of thinner bodywork.
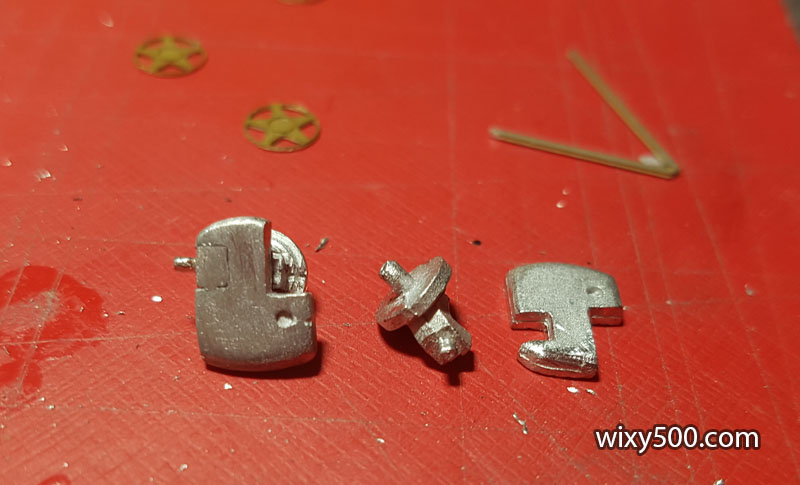
There are lots of individual photo-etch parts to cut off, file and in some cases bend to make fit. Locating holes for the arm ends on the main casting need to be deepened a little with a drill. Working on the rear here – rear axle is solid and provides strength and guides location.
Front upright and very crude brake duct is two parts (the one on the left is assembled)
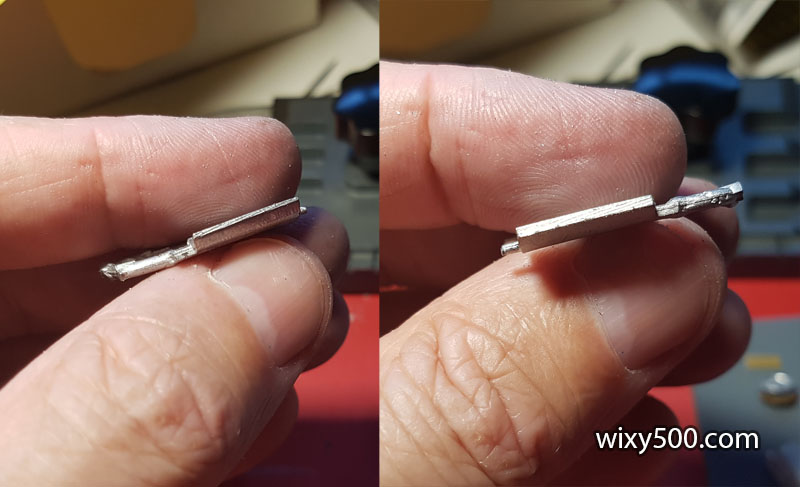
Back to thinning some parts, in this case the trailing edge of the front wings. Left pic has been filed down, right pic is stock kit.
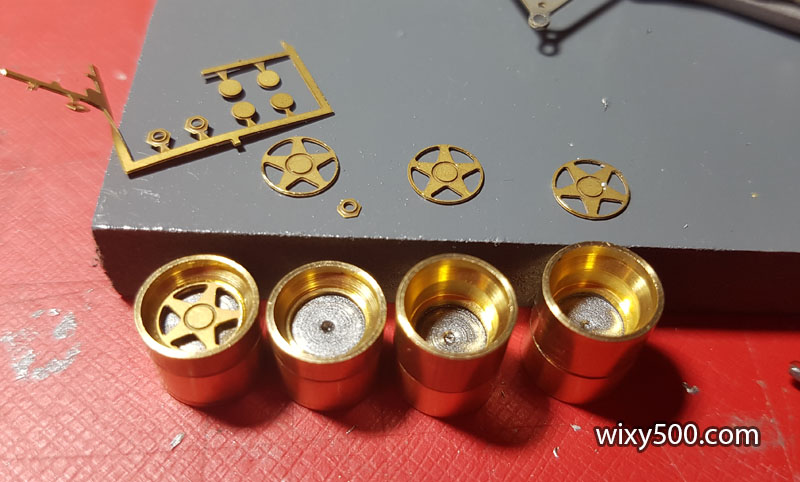
Building the wheels. Each wheel is four parts – inner and outer rim from turned brass plus the spoke insert plus the centre-lock wheel nut (not yet fitted here).
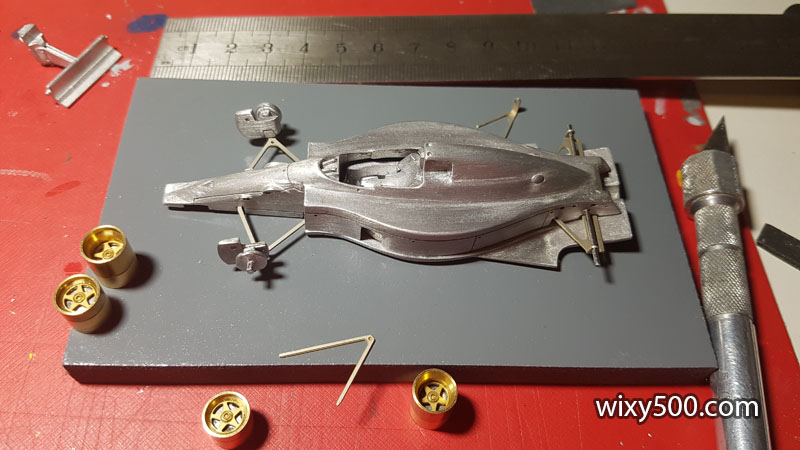
In order to do a suspension mock-up (to check & adjust clearance, ride-height and pushrod length) I need to fit the wheels and tyres. It was then I experienced the consequence of lowering the ride height a little – the wheels would not fit as the axles were too low!
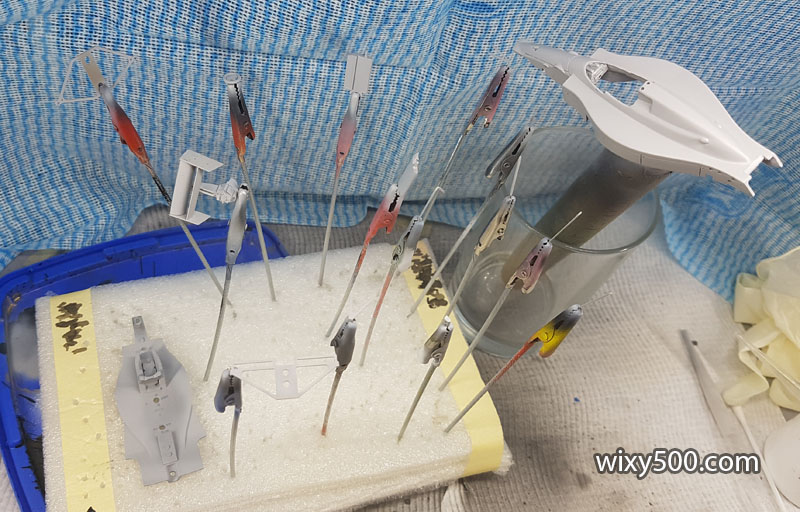
Once all the main parts had been test fitted and adjusted, it was time to pull it all apart so that every piece could be cleaned and washed before primer. Rear wing is already assembled.
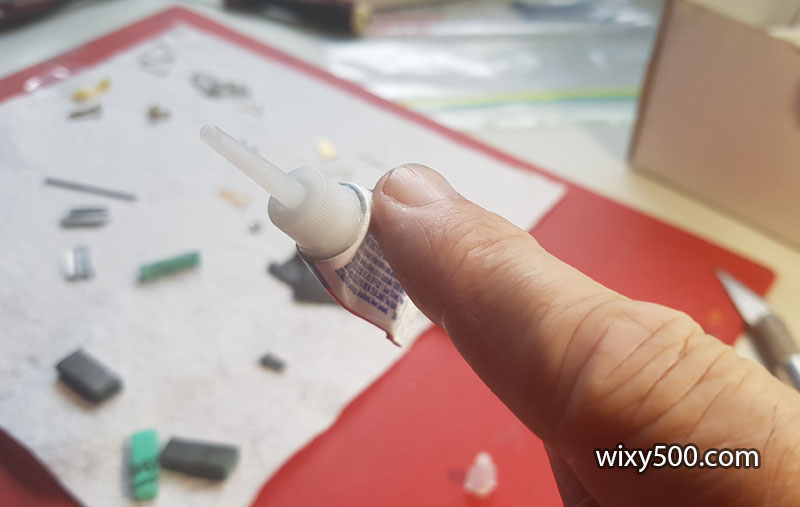
Here’s a tip – before squeezing the glue tube, always check some hasn’t run out down the side… I think my finger stuck better to the tube than the endplates have to the rear wing I was assembling!
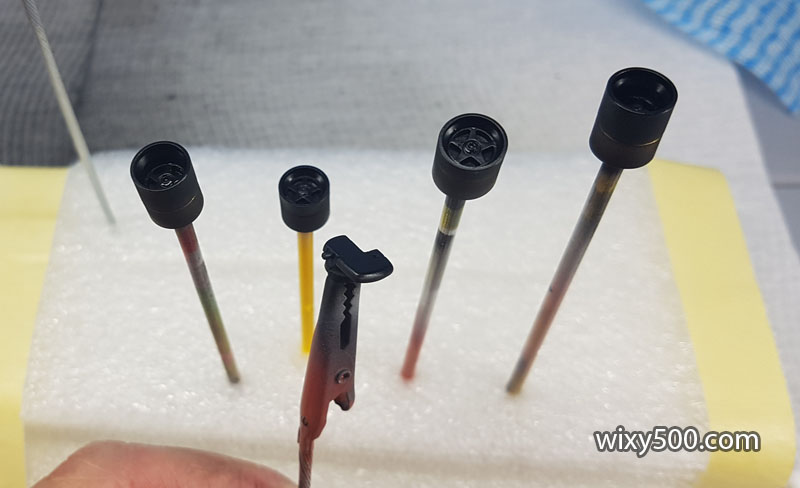
Rims and front uprights done in Tamiya LP-5.
Almost all the parts get a quick shot of Tamiya fine grey primer. After this, the main body also got a thin coat of pink primer before the red went down.
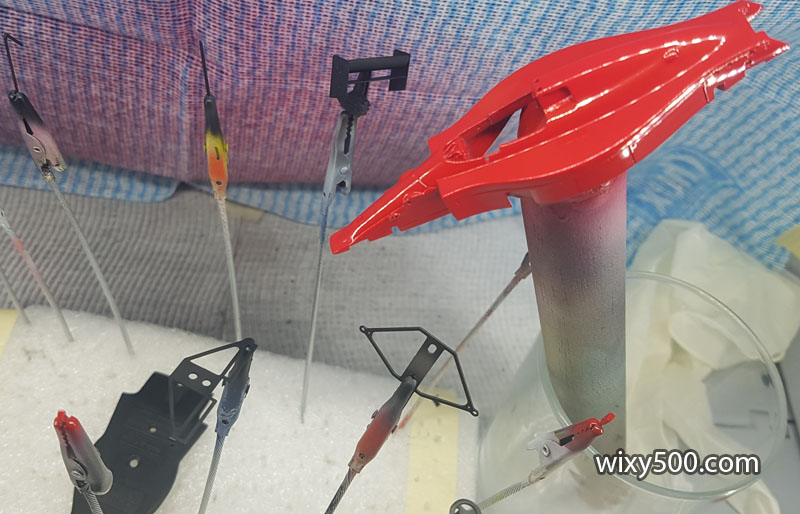
Colour on and drying; Tamiya TS-8 Italian Red and TS-29 Semi-gloss Black. The red was done in two sittings, 2 coats in the first and 3 in the second.
Decals down and clear coats on! Clear is Tamiya TS-13 run through the airbrush. Some of the decals seemed a little over scale to me (or the casting under scale?), eg: the big Agip decal on the sidepod should fit on the main sidepanel and not reach the bodyline of the top panel. I considered trimming the decals but thought it would start to look odd.
I had a bit of difficulty getting the decals to stick to the model. Tameo uses Cartograph decals which are normally pretty good, so not sure if these early kits were not that great, or it’s simply the fact this kit is well over 30 years old at the time of the build. Copious amounts of softener was used.
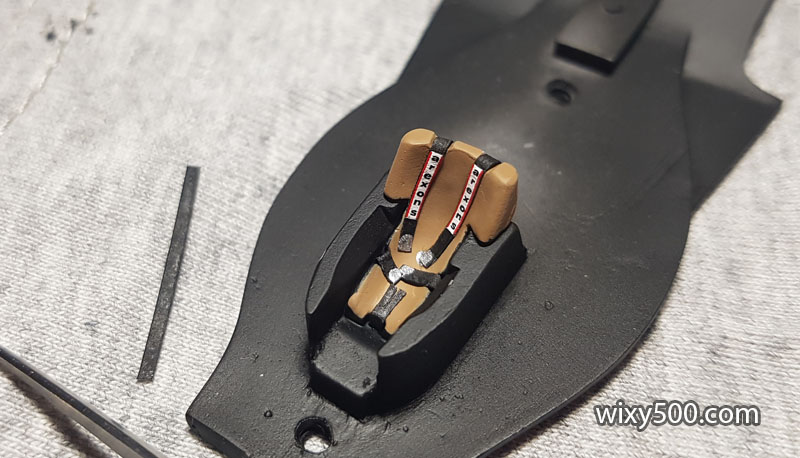
Seat is a separate piece that fixes to the baseplate/floor. Colour is a mix of Buff and Flat Earth, brush painted.
The kit includes decals for the seat belt branding on the shoulder pads, but does not include any actual belts. I cut up plain paper into strips about 1.5mm wide, painted it black then folded and glued in place to replicate them.
Then added the Arexons decals from the kit and a dab of silver to (very poorly!) replicate the buckles.
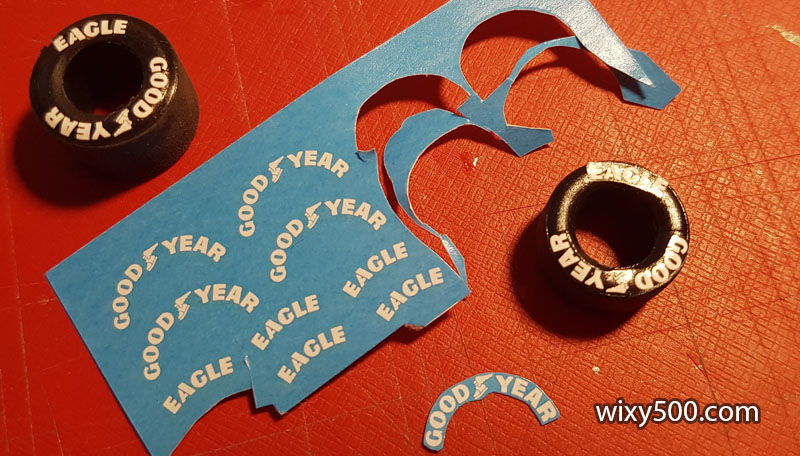
The tyre decals are too big and are the incorrect radius to match the tyre, particularly the “Eagle” decals which are too flat (should be more curved). Conversely, the speedline rim branding (not shown here) is too curved!
Semi-gloss black is hand painted into the radiator ducts, inside the cockpit, head rest etc. This all needed to be done before bringing these two main parts together for the final time.
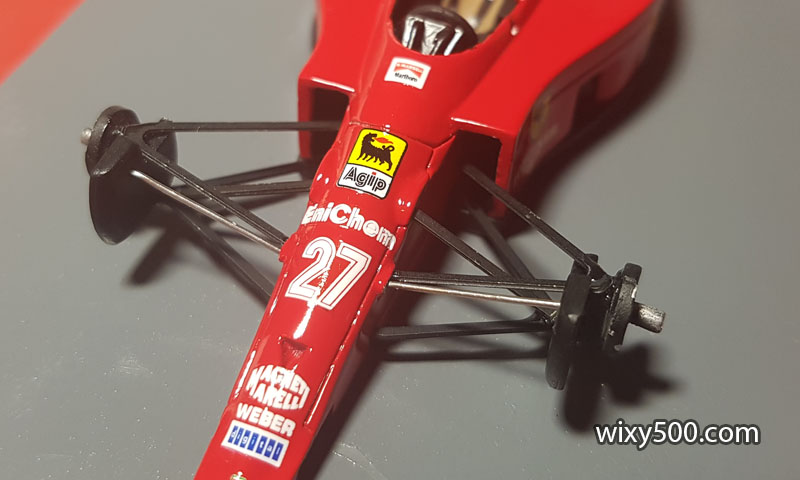
The main body now screwed to the floor and mounted on the plinth. Rear suspension has to be assembled to allow this to happen. The wheels are ready to go on once the front suspension is fitted.
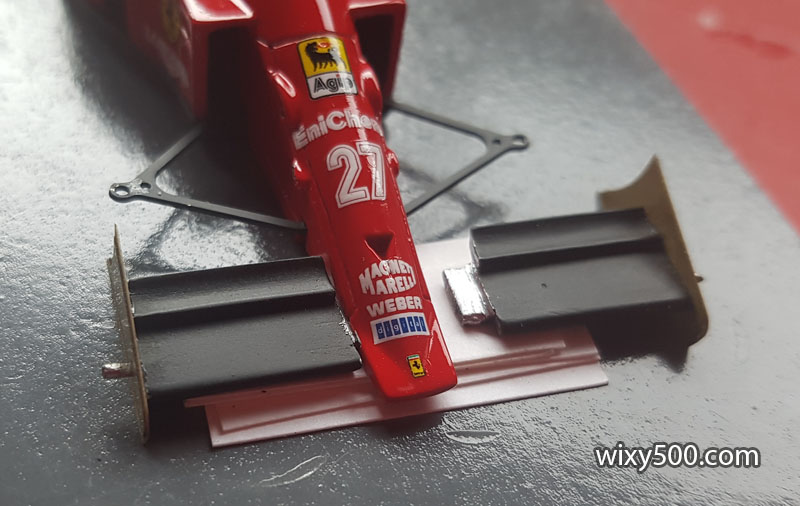
Front wings are temporarily fitted to ensure the endplates are fixed and glued vertically. Each wing was then painted & decaled before a clear coat (which was a mix of gloss with a drop of flat to dull it a bit).
Due to my lowering of the ride height, the wheels would not properly fit between the axle and the plinth. Some very thin slivers were cut off the bottom of the rear tyres to make them fit.
Front suspension detail. The arms were inclined at a steeper angle than real life due to my lowering modification. On reflection, I should have just shaved down the front tyres a little like I did with the rears.
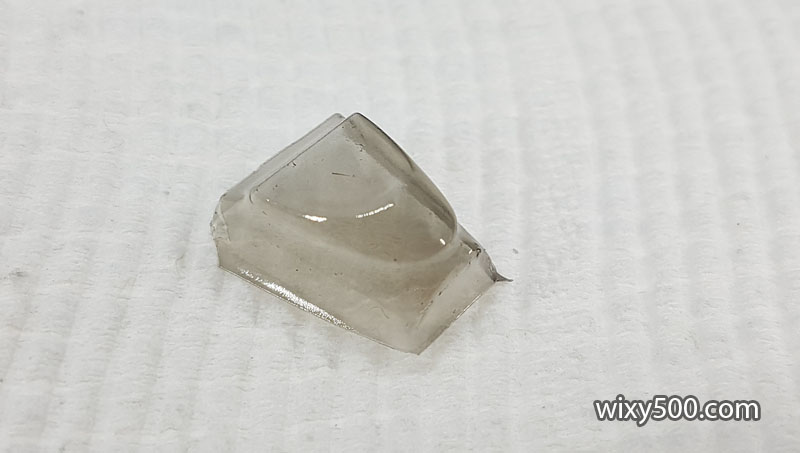
The vac-formed windscreen was given a few light coats of clear smoke to give it a bit of a tint. It then had to be cut out and trimmed to fit the cockpit surround.
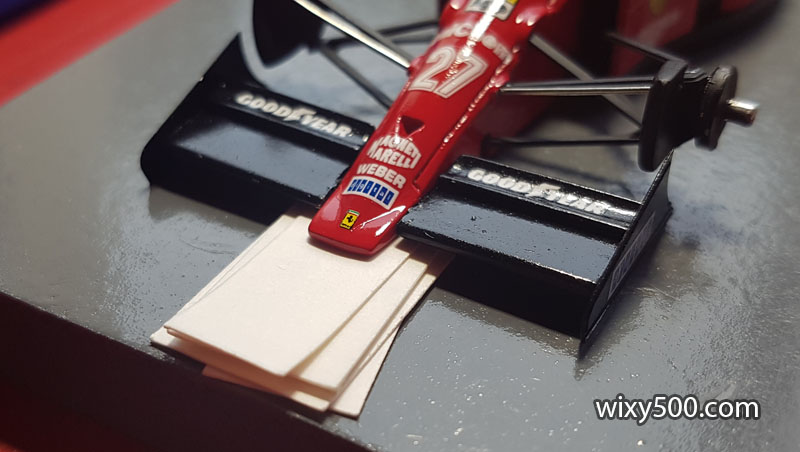
Front wings glued in using stacked card to hold them up flat in their mounting recess until the glue was dry.
Job done!
Oil cooler is a folded up photo etch piece. I didn’t put any wash in the panel lines of the bodywork as I thought it would be too aggressive for this scale.
The sidepod and floor profile was unique in F1 for the time.
There is some detail cast into the gearbox, which includes rear wing mount and rain light.
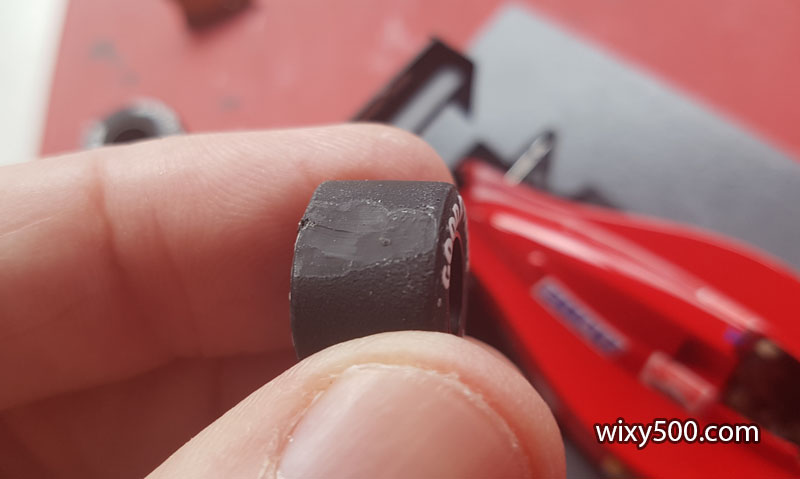
Once the tyre sidewall decals were dry, I gave the tyres a coat of flat clear to help seal the decals and give a more consistent rubber look. Unfortunately, this got damaged when fitting the tyres back on the rims, causing a whitish ghosting effect in some areas of the sidewall.
This kit is so old that it came with proper Marlboro decals! Belts and cockpit have come up ok. Even though you can’t see it, the gearchange paddles are a photoetch piece behind the steering wheel. Trimming and fitting the windscreen was a pain.
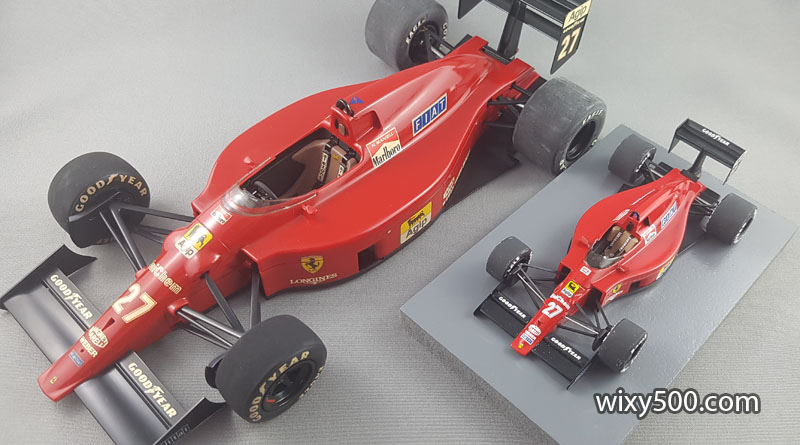
The 1/43 Tameo build with its bigger cousin, the very same car by Tamiya in 1:20 scale. I built the Tamiya version about 25 to 30 years earlier – way before I’d heard of things like primer or clear coat! The decals are still mostly intact, but are badly yellowed.
These photos do not illustrate the difference in the red on the two models. They were both painted with exactly the same product (Tamiya TS-8 Italian Red) but the new build is so much more vibrant. The Tamiya build only got a light coating straight out of the can onto the plastic body (which had been brush painted on the inside with semi-gloss black). The TS-8 was run through an airbrush for the Tameo build, over pink primer, then cleared to seal in the decals. Hopefully they won’t yellow as badly as the Tamiya decoration.