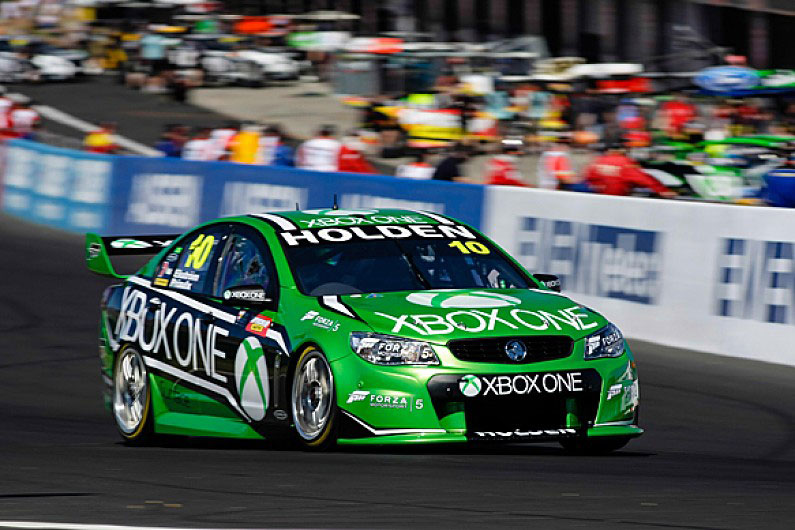
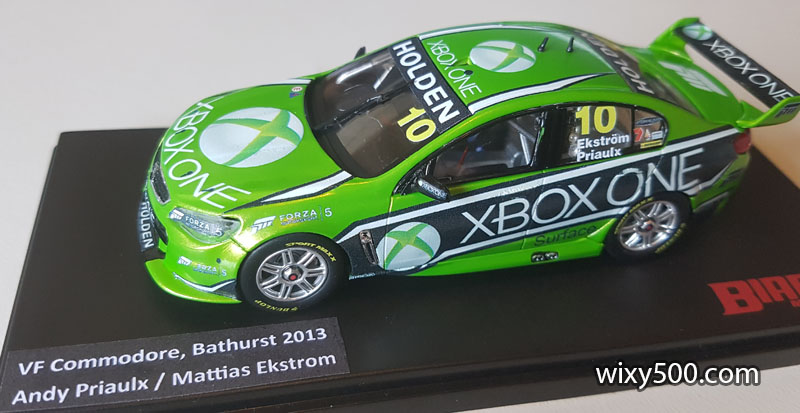
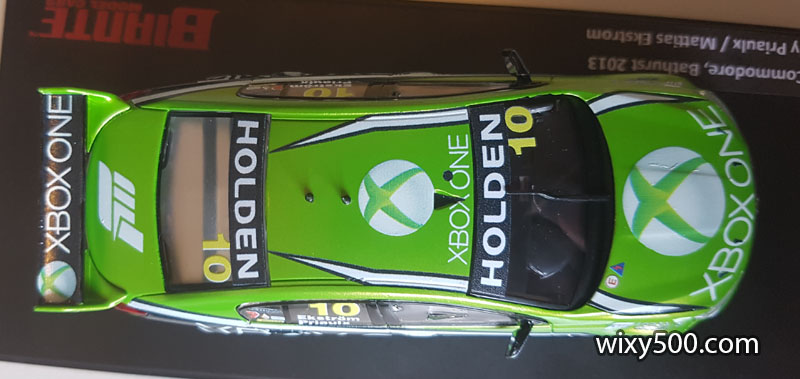
Triple Eight Race Engineering ran a VF Commodore wildcard entry at Bathurst in 2013. I don’t believe any of the commercial manufacturers produced a model of this car in any scale, so I made my own 🙂
The Car
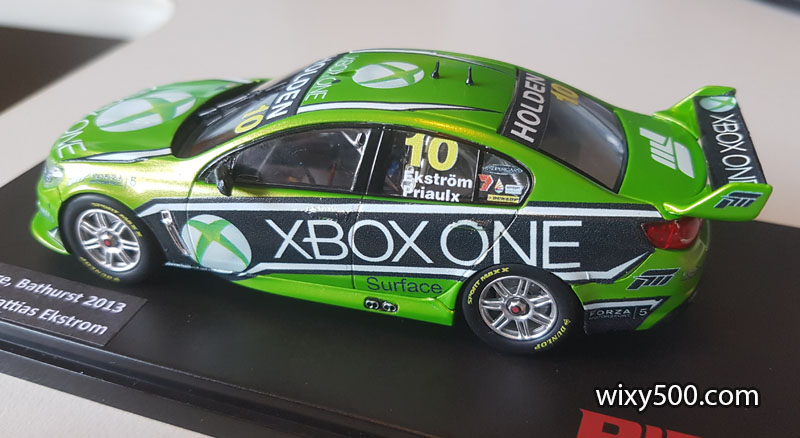
Brit Andy Priaulx and Swede Mattias Ekstrom drove the green machine, which was engineered for the event by Frenchman Ludo Lacroix.
Lacroix set the car up for aero efficiency and maximum straight-line speed. The tactic worked. After qualifying a credible 18th, the duo circulated consistently all day. Despite losing time with a late unscheduled pitstop to replace a flat-spotted tyre, the internationals finished a solid 10th.
A top ten finish was a top effort for this wildcard entry at Bathurst in 2013
The Build
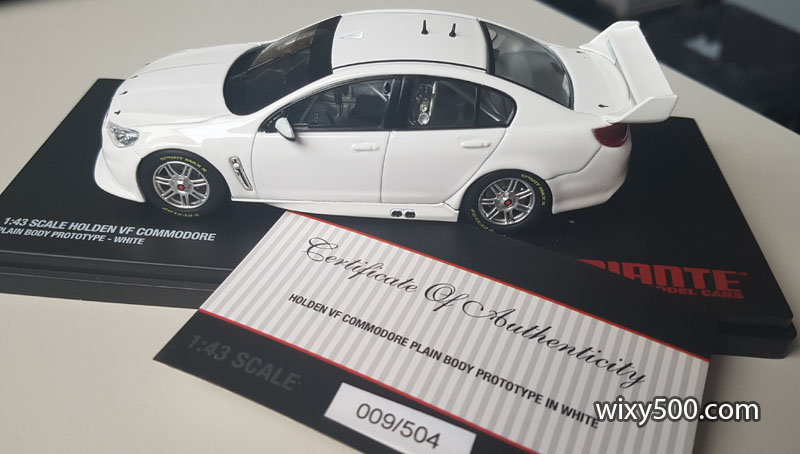
Armed with Biante’s 43rd scale plain white VF, some after market decals from Patto’s and a can of metallic green paint, the project was on.
The aim was to build the model as accurate to how it raced at Bathurst as possible. If you’re ever looking to do this one for yourself, be aware there are multiple decal sets available, and none of them are 100% correct. The decoration on this car changed from when it was formally launched, to when it participated in a high-profile test day to when it raced at Bathurst. I’m guessing this is why all the decal sets are so jumbled.
Anyway, one set was pretty close, though it did lack the actual event decals (the red rectangles on the front doors) and had black full-lens decals for the front headlights, which is wrong.
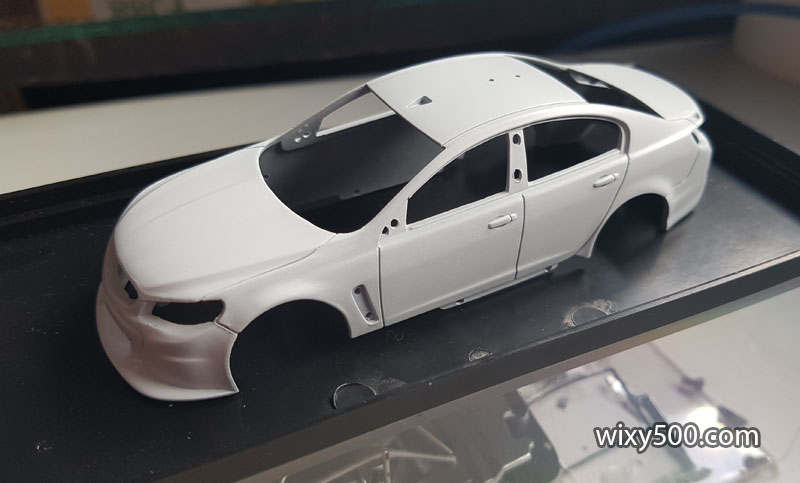
Biante ‘Plain Body Prototype’ VF Commodore Supercar, ready for conversion into a special 2013-spec livery.
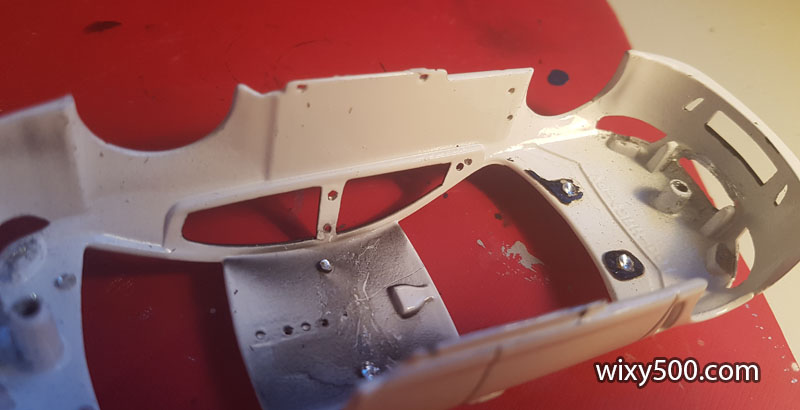
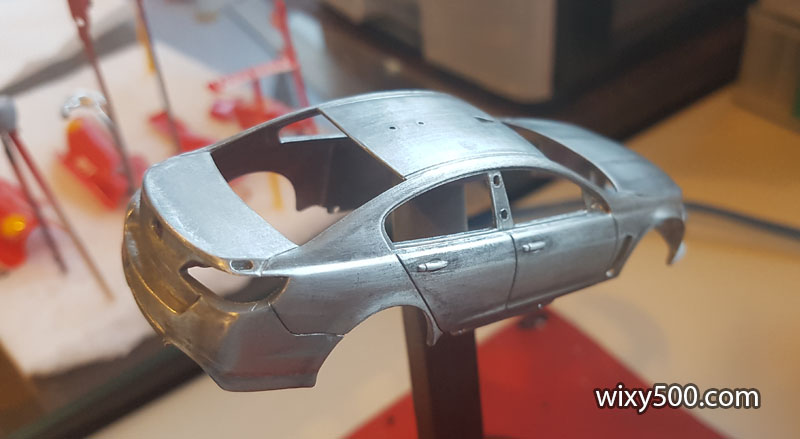
Had to drill out the window locating pins, head and tail light mountings plus remove the back of the grill. Getting these Biante’s apart is time consuming!
The grill was located by two pins and glued into place. Unfortunately, the glue is very good! I had to grind out the metal from the back of the grill to enable the plastic insert to be removed. It was a similar deal for the rear rain light.
Bare body after paint stripper.
I used, for the first time, SMS’s etch primer, which is clear – which also means it’s hard to see what’s going on. A light spray of Tamiya white primer preps it ready for body colour.
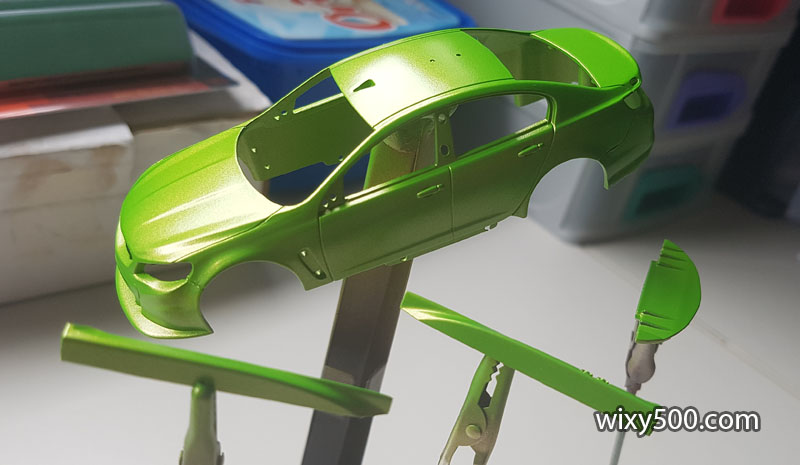
It’s really hard to determine how close metallic colours on a model are compared to real life. This is Tamiya TS-52 Candy Lime Green. Under some light it looks close to reference photos, but at other angles (eg the front of the car in the pic above) looks nothing like it. I considered doing a custom mix to darken the green a little, but ended up going with the TS-52 straight from of the can.
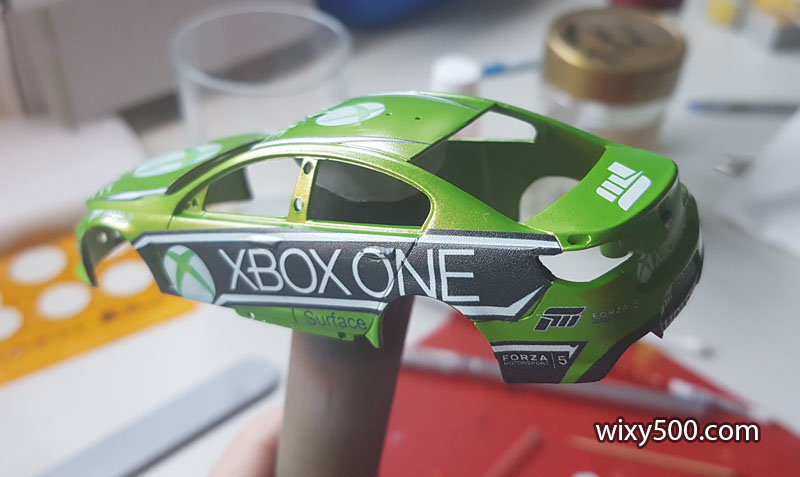
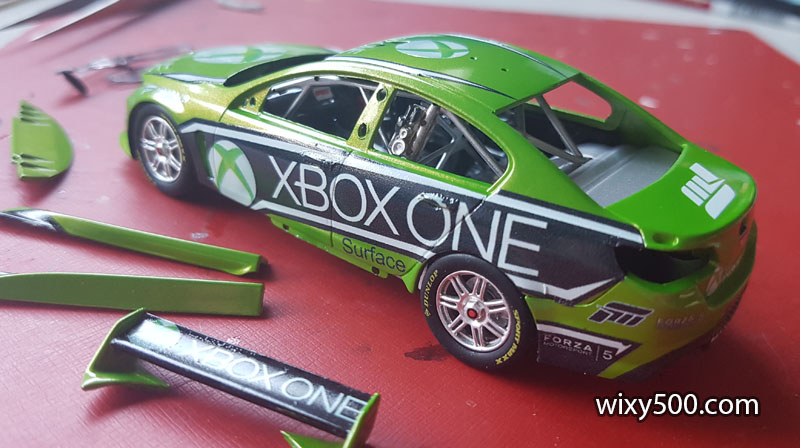
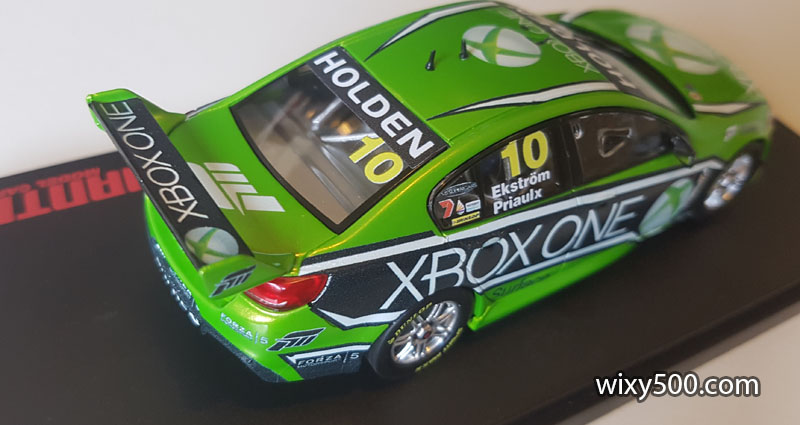
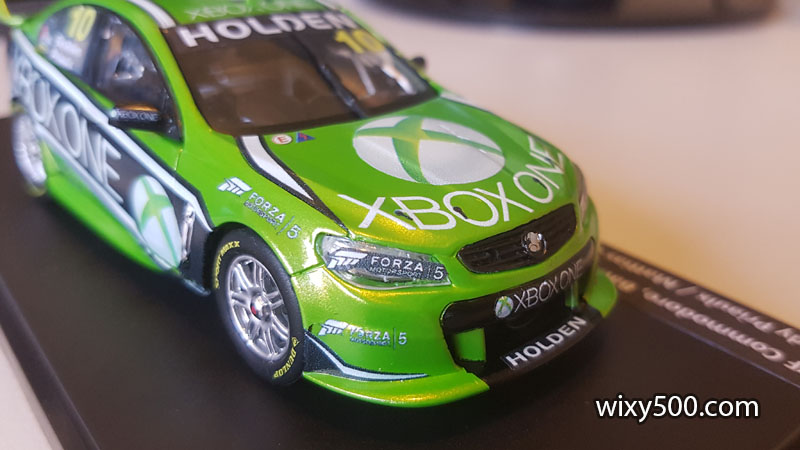
Body decal application was pretty straight forward and the alignment and sizing, while not perfect, at least resembles the real car.
Body parts clear coated. I need to be more patient. I tried to get all the clear on (mist coat, medium coat and final heavier coat) all in one session with the air brush. It was a bit much for the decals where they hadn’t settled down 100%, such as on a couple of edges and around the door handles.
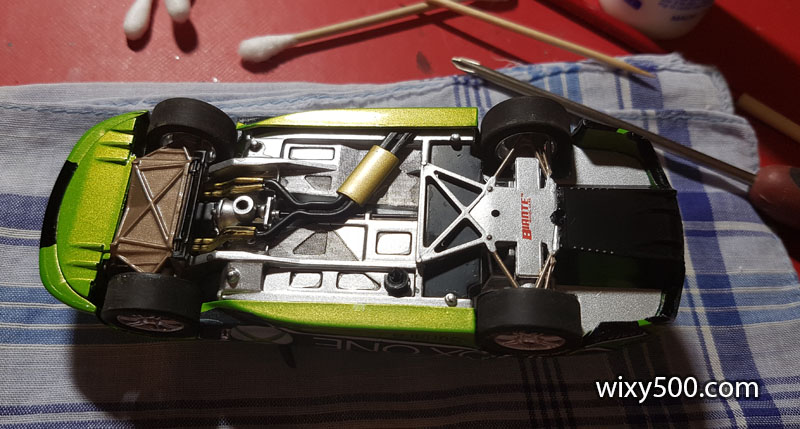
Couldn’t help myself – had to drop the body on the chassis to see how she’s going to look! The body shell still has to have detail painting around the window edges, fitting of the light lenses, window inserts etc before it can be screwed to the chassis.
Once the body and chassis are back together, the side skirts and undertray can be glued in place. For this build, I’ve used a lot of Micro Kristal Klear instead of CA glue, so will be interesting to see if all the parts are still on the model in five years time. I doubt the undertray was green, but it’s never going to be seen again once screwed to the plinth.
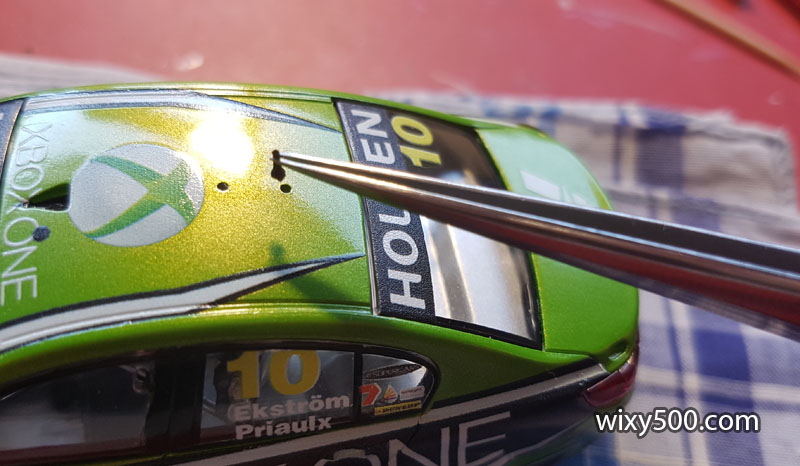
I use tweezers to position the small parts, such as the aerials. Using tweezers also eliminates finger prints. Cloth on the bench helps prevent chipping the paint, which I’ve had big problems with in past builds.
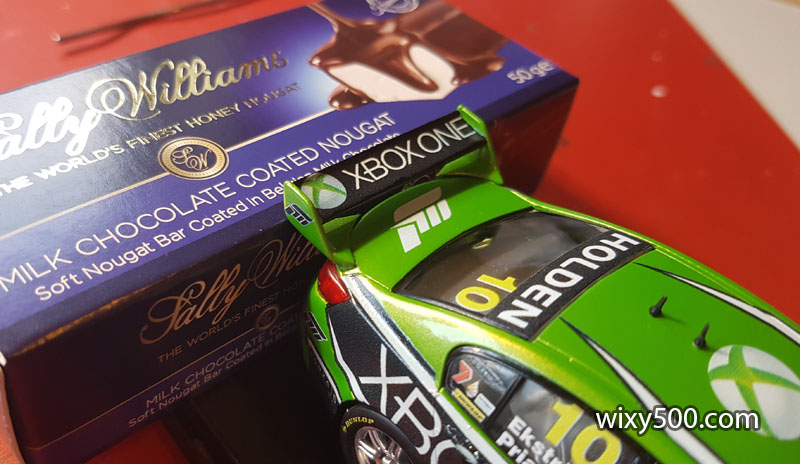
This box of nougat was the right size to support the rear wing while the glue dried. (BTW, that’s bloody awesome nougat! The dark chocolate coated one is even better 🙂 )
Job done, back on its original display plinth with updated ‘plaque’.
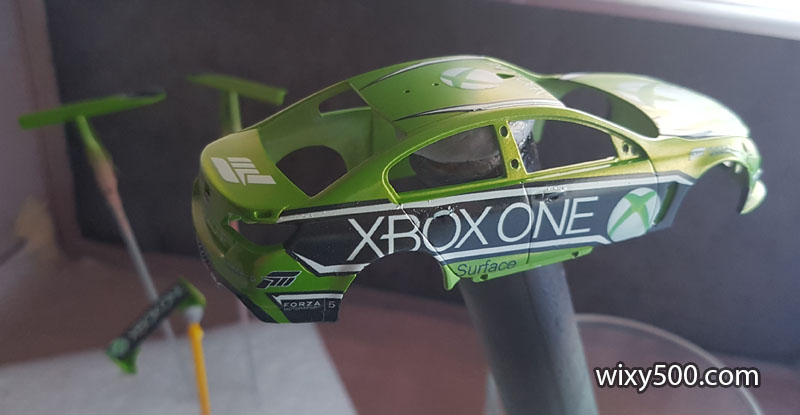
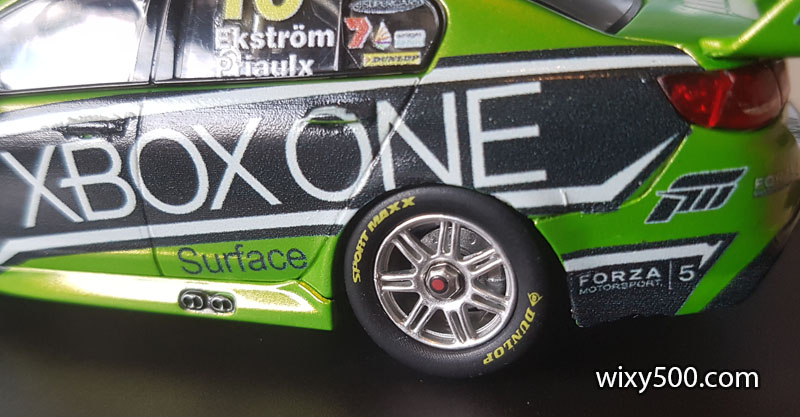
Exhaust outlet detail is hand painted. At this level of magnification, it’s pretty easy to spot problems with the decals. But in the display cabinet, it looks fine, and that’s the main thing.
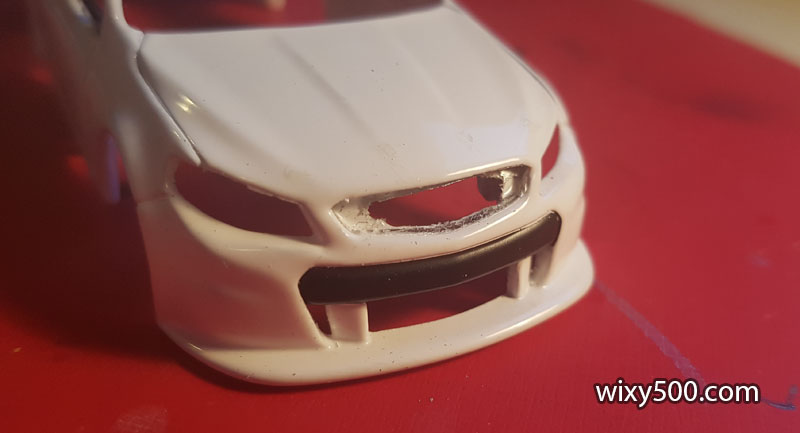
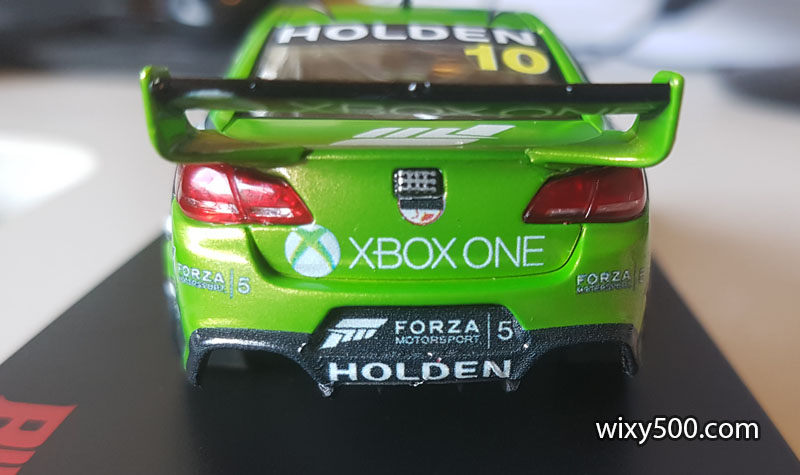
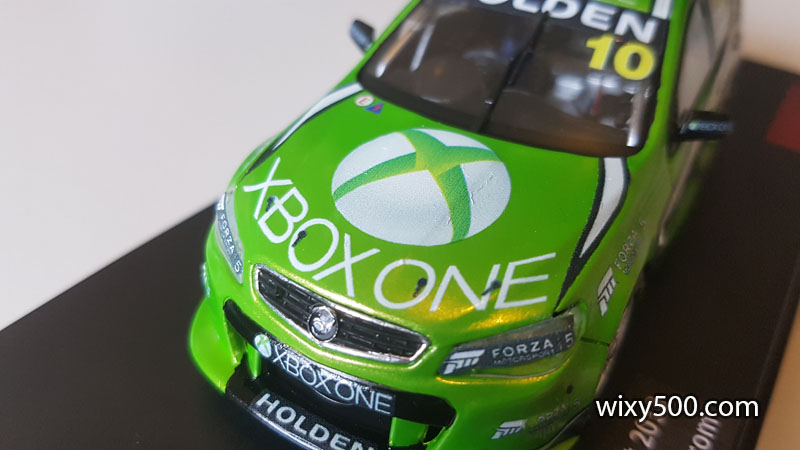
The decal sheet included full black decals for the headlight covers, which is incorrect for this car. I had to cut the Forza signage from those and apply to the lens, so this part of the model is not accurate.
While finalising this blog post, I noticed the real car did not have any chrome around the grill, so had to go back and hand paint it. Normally this would have been painted while the part was out of the model, which would have made it a much neater job.
Once the big side decals are in place and dry, decal film has to be cut from the recess before the chrome vents can be glued back in place. I used a little panel-line wash around the wheel nut to give it a bit of depth and bring out the detail.
I reckon the green’s a tad off and the black decals are a bit washed out, but overall this has come up quite ok and is a great addition to the collection.
2 thoughts on “The Xbox Bathurst Wildcard: A Code-3 Conversion”
Great build log Mark, could inspire me to get back into logging some of my builds

Great build log Mark, could inspire me to get back into logging some of my builds
Thanks Graham – and you should!