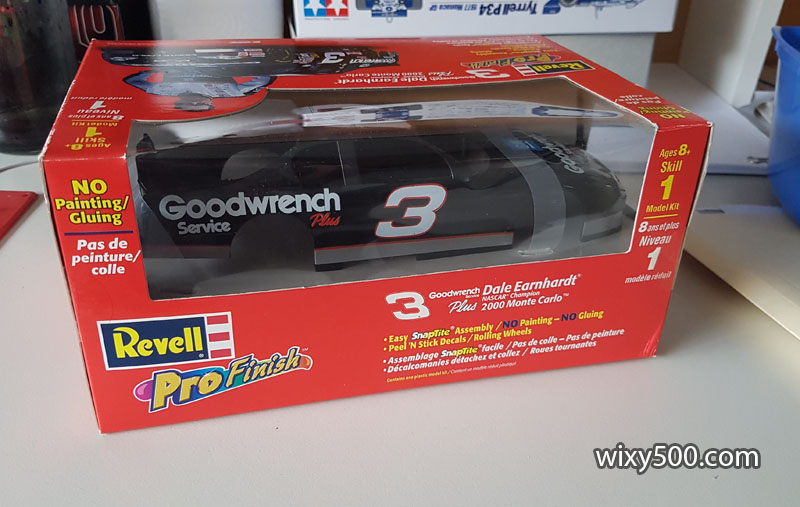
Scott McLaughlin punting around the Gold Coast track giving a demo of Joey Logano’s NASCAR this weekend reminded me I have a handful of NASCAR kits in the stash, including this “Pro Finish” SnapTite example of Dale Earnhardt’s Goodwrench #3 Chevy Monte Carlo from 2000.
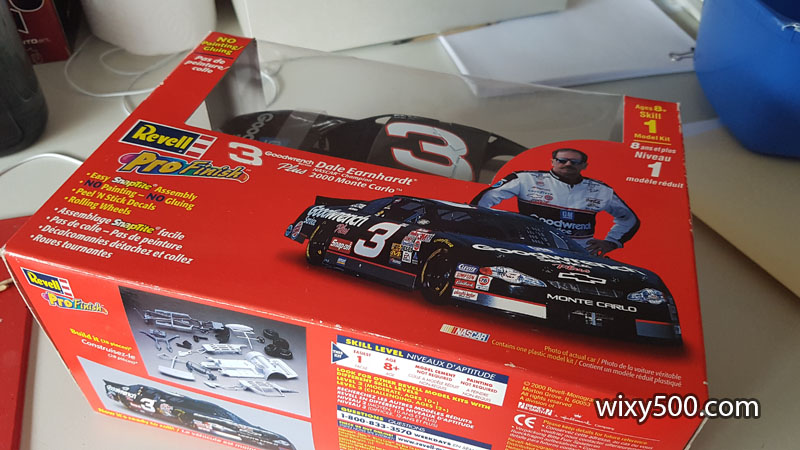
Revell rate the kit as ‘Skill Level 1’. It says on the box “Easy Assembly, NO painting, NO Gluing, Peel ‘N Stick Decals” – so that’s exactly how I built it; no modifications, no detail painting or enhancements.
In reality, this is more a kit for kids who might not have access to paints and glue, and it’s a very simple build. For that reason, total build time was under 30 minutes!
I have two more of these kits for sale, one identical to this, the other Dale’s Monte Carlo from 1998 when he won the Daytona 500. See the Models For Sale page.
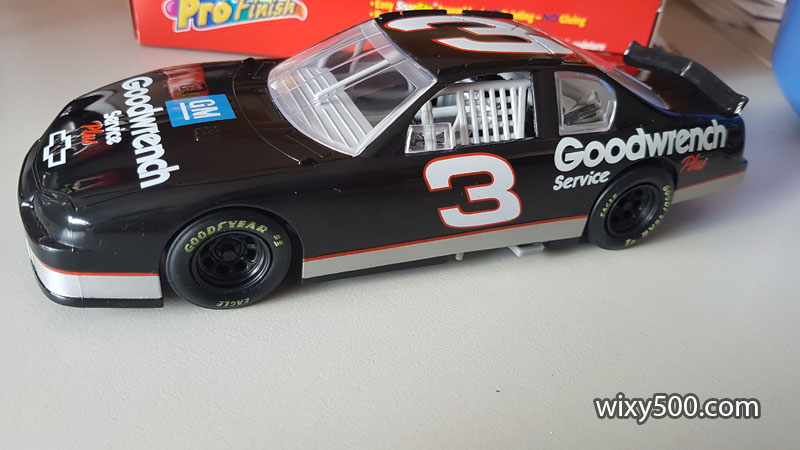
Revell’s Pro Finish kits include the body shell already painted with some of the major markings already applied via tampo printing. The factory finish is actually not too bad. Scale is 1:24.
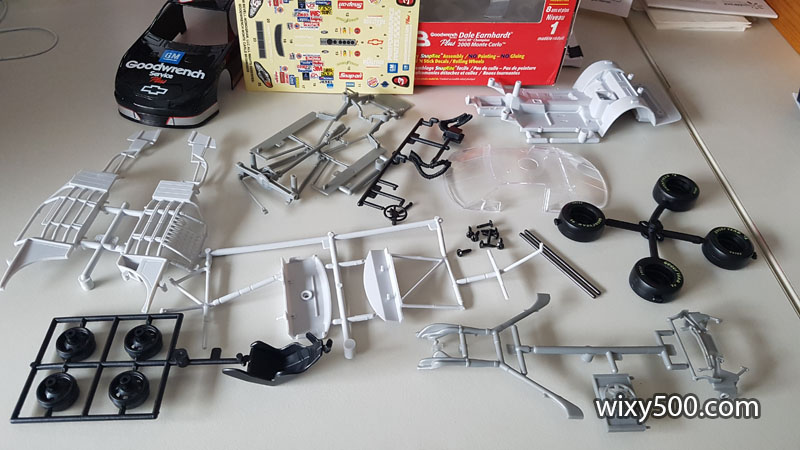
Unboxed on the illustrated instructions.Parts unbagged, molded in black, two shades of grey and clear. Axles are metal, tyres are rubber (with pre-printed sidewalls), markings are adhesive stickers, not waterslide decals.
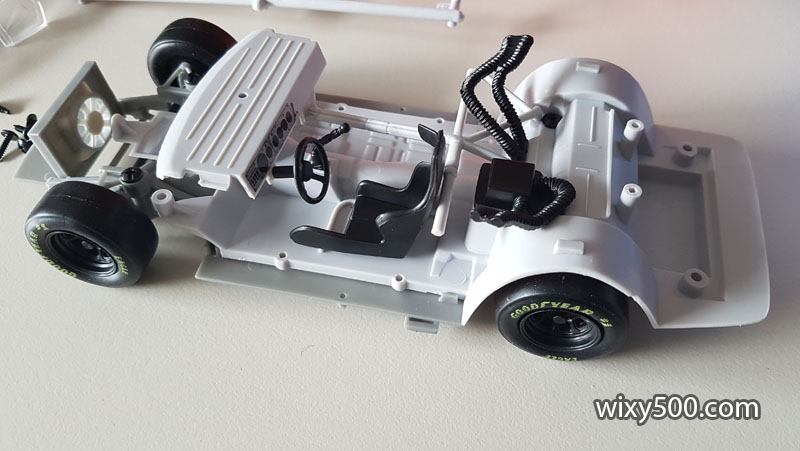
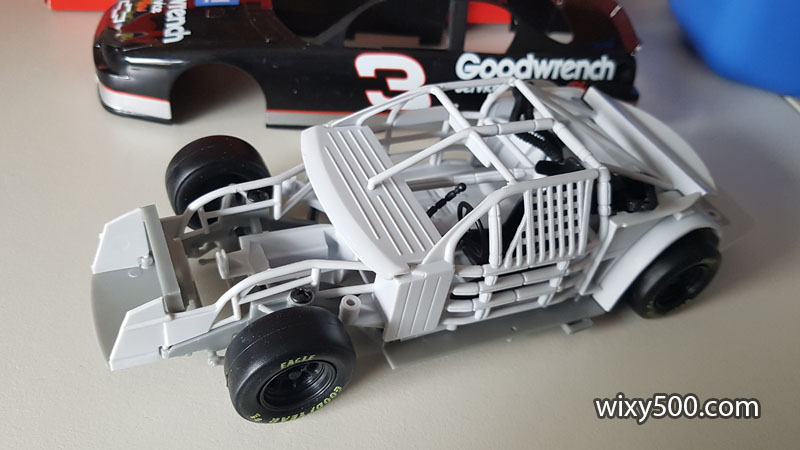
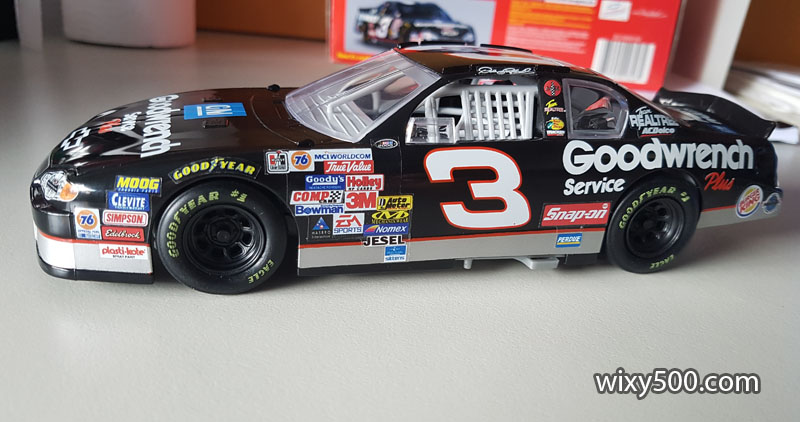
Only tools needed were a screw driver and sidecutters. Tweezers can help with sticker application.Chassis before the left, right and top bar assembly pieces are clicked in place.It’s a curbside model (no engine) but includes the main roll cage structure. Lot of opportunity for improvement here.Assembly finished, time to add the stickers.Many of the under-car structures are included and lend themselves to big improvements with some detail painting. Normally I’d do that, plus sand the tyre surface to create a realistic look, but not for this “do it simple from the box” build.The Intimidator’s 2000 ride with all stickers applied. The decoration stickers are well printed, but because of the thickness of the clear film, don’t look as good as the factory tampo printing or what can be achieved with waterslide.
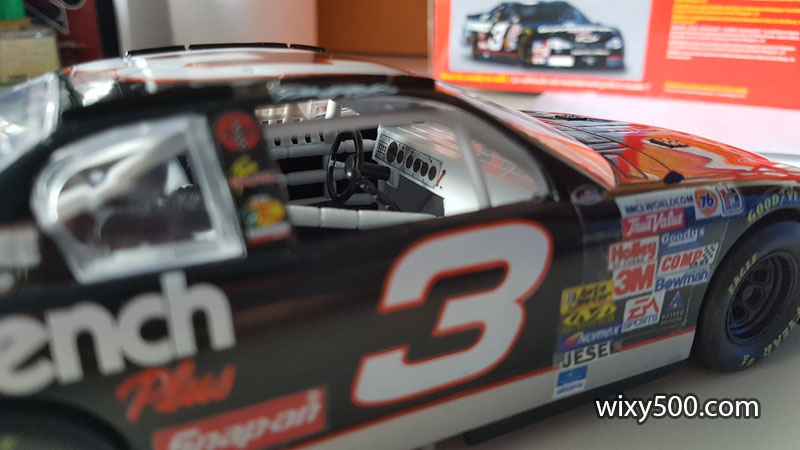
Inside the cockpit.In-car venting and filter detail. Rollbar padding is molded into the bars.