Having done a couple of Tamiya kits in a row, it was time to do something different.
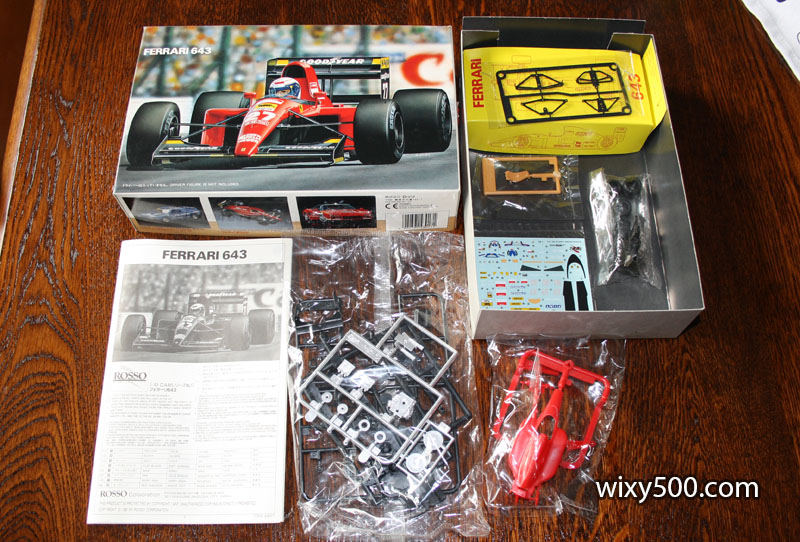
I’m led to believe this is a fairly rare item from the Japanese manufacturer, Rosso Corporation – a 1/43 scale version of the Ferrari 643 V12 Formula One car from the 1991 season.
This was an out-of-the-box build of the #27 Alain Prost car (Jean Alesi decals are also included for a #28 version). However, I wouldn’t call it a straightforward build as there were lots of fitment issues.
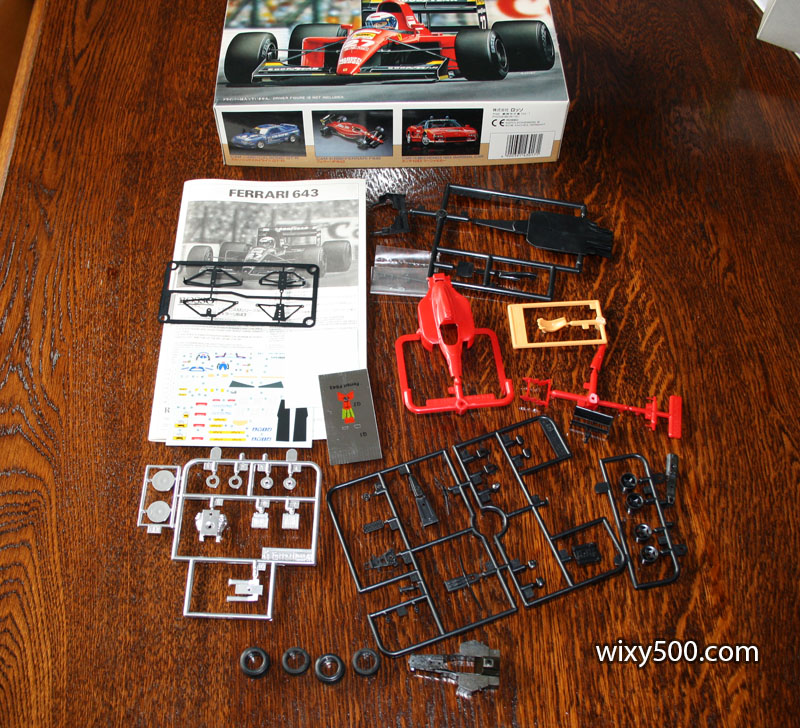
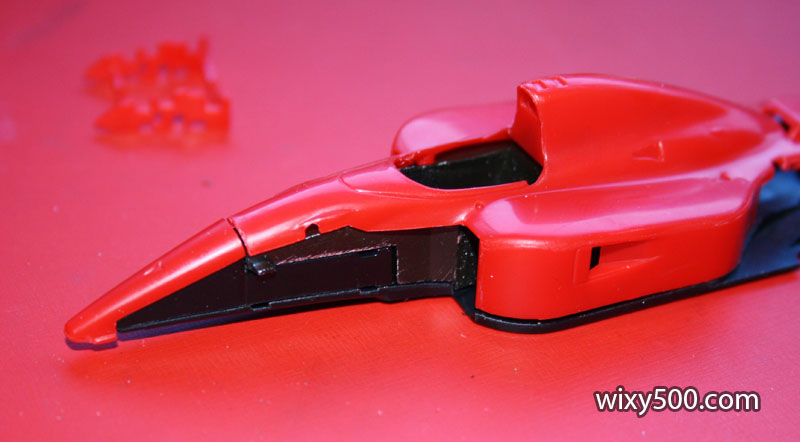
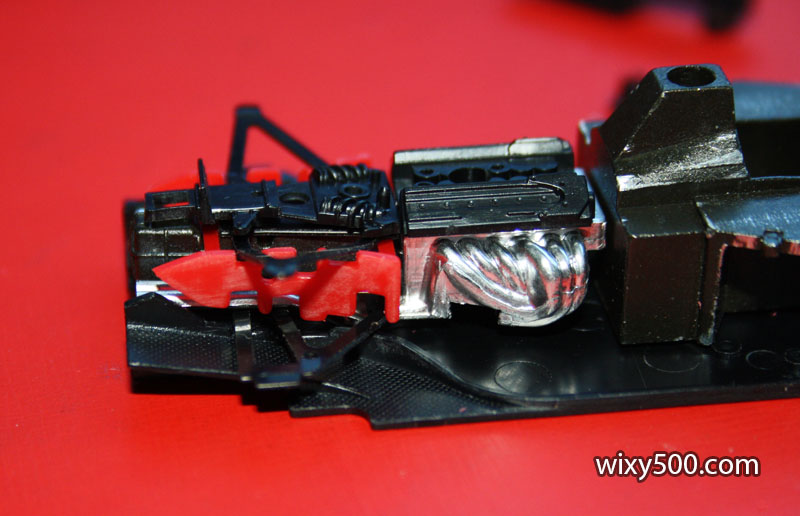
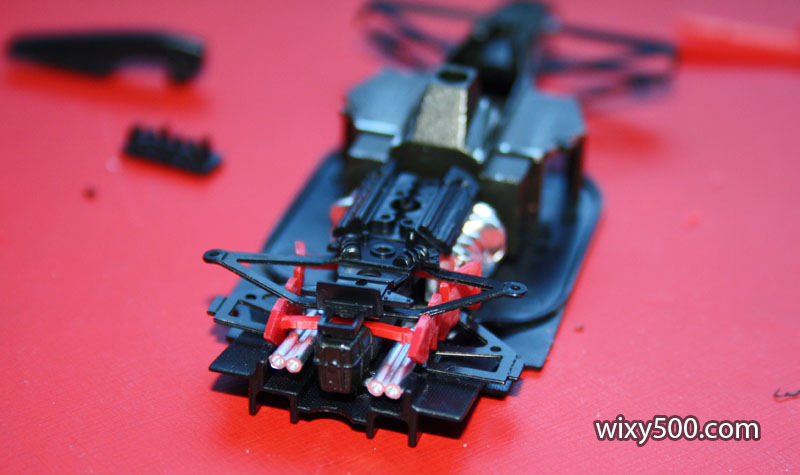
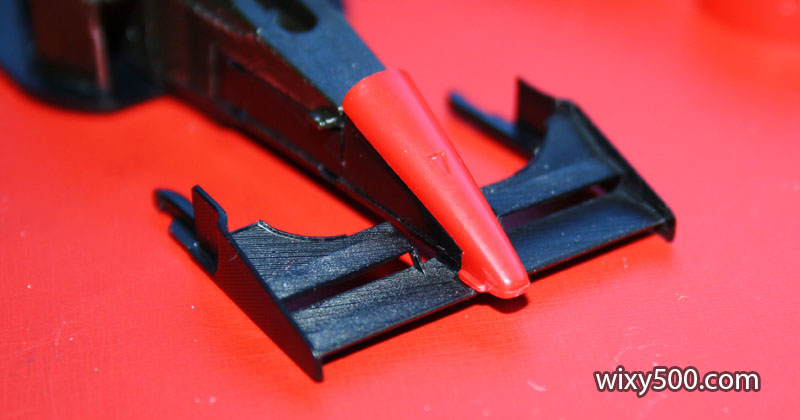
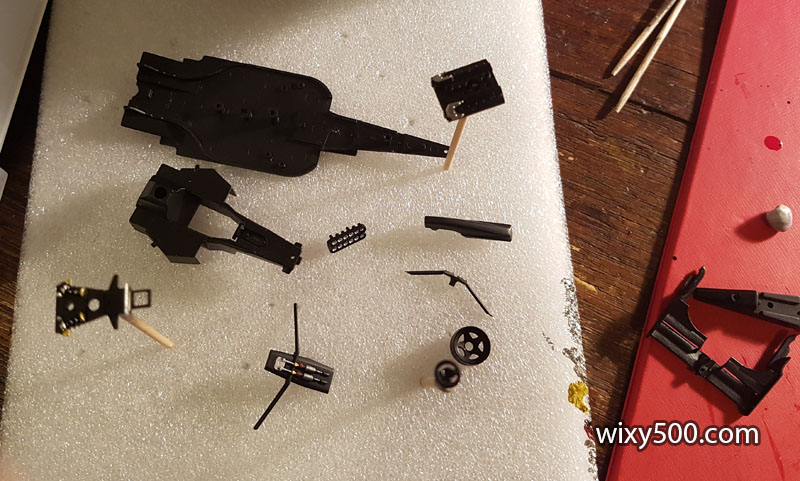
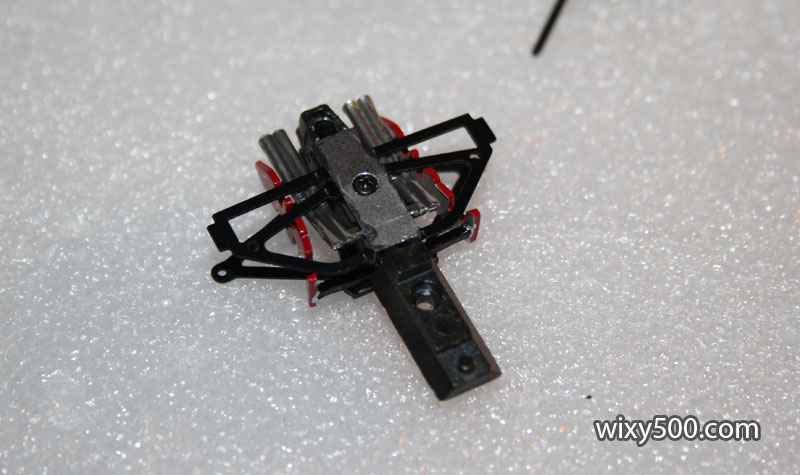
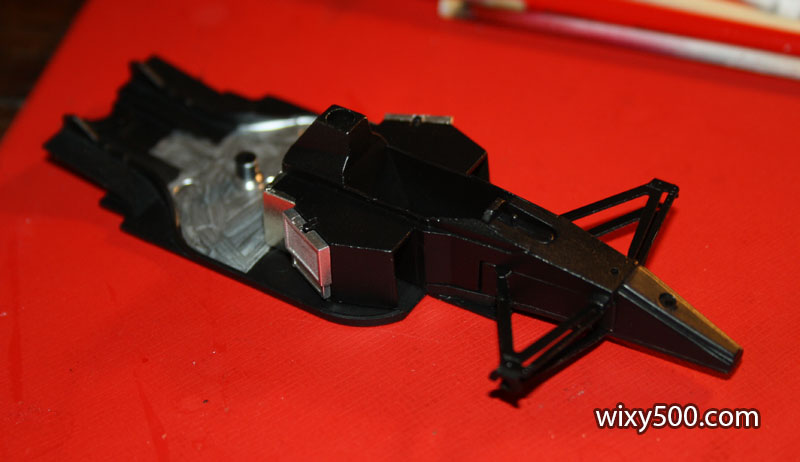
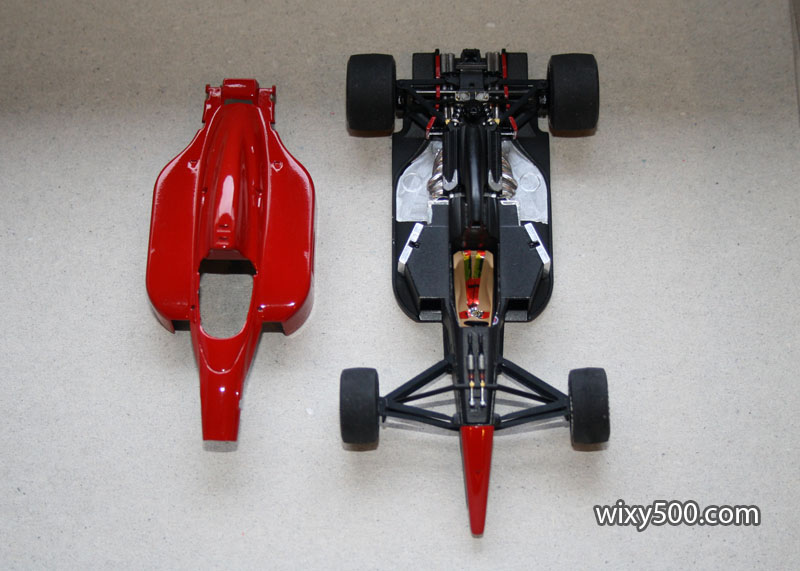
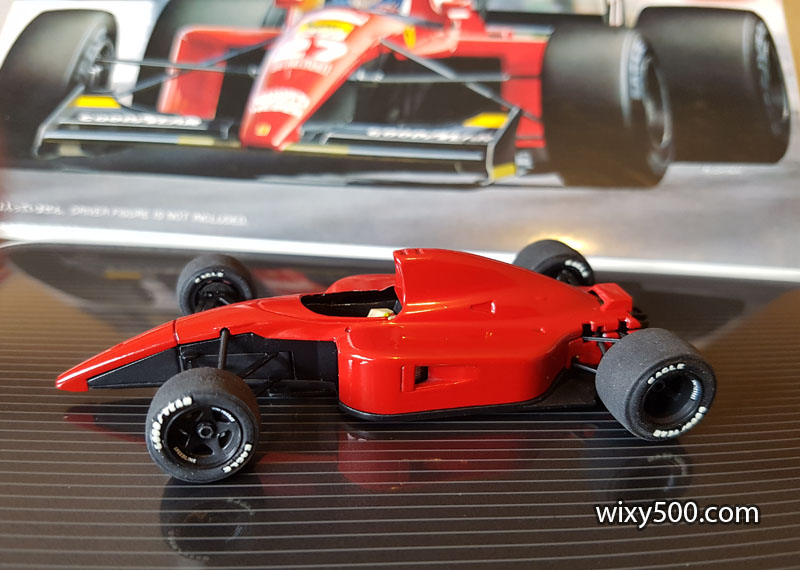
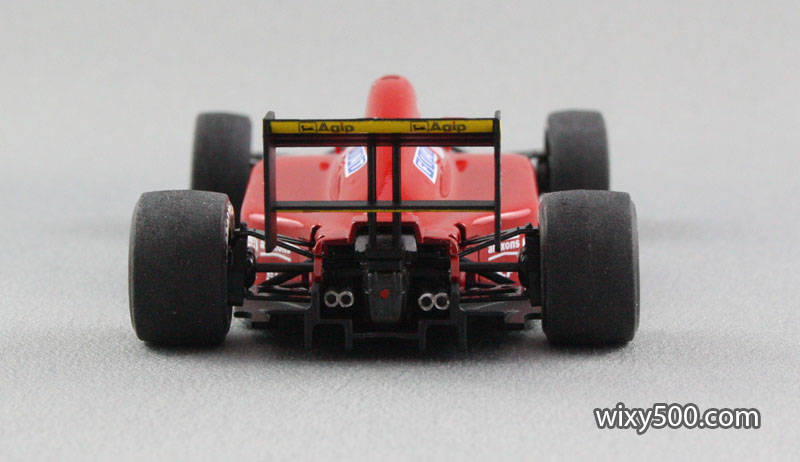
Contents of the Ferrari 643 kit by Rosso, 1:43 scale.Parts un-bagged. The kit is mostly injection-molded plastic but has a number of metal parts, including the monocoque (bottom of pic) and suspension arms. This one is going to be fiddly…Test fitting parts. There are some serious gaps.Test fitting the engine/gearbox/suspension assembly. Something is wrong…Rear view of the same issue. While there is some good engineering related to the design and build of this model, it has lots of fitment issues that require filing and sanding to get parts to seat and fit properly.The nosecone has two little red bits on the lower edge that don’t really represent the real car too well, so they’re going to be filed off. There is a carbon weave molded into the front (and rear) wing surfaces.The first shots of Tamiya TS-8 Red over Tamiya grey primer look a bit dull and grainy.Detail painting of parts that have earlier been sprayed semi-gloss black.Rear-end assembly ready to fit to the floor of the car.Rear assembly flipped. There is no glue needed here, this screw holding it all together.Monocoque and floor were sprayed semi-gloss black. This is initial assembly. In hindsight, I should have sprayed the chrome silver on the floor (however, the brush strokes look far worse in the photos than in real life).Bodywork has come up ok for my first time using polishing compounds. I could probably have done more polishing, but didn’t want to get too aggressive and rub through the red paint! Wheels and tyres were straight forward (paint the rims, sand the tyres, pop the tyres on the rims then add decals). Getting the hubs to fit the suspension, however, was a real pain in the arse. The photo-etch metal lower rear wishbones required lots of filing (which I forgot to photograph). If you ever build this kit, here’s the Big Tip: Check the fit of everything before progressing to any paint or assembly!Seat belts are a sticker. Shocks, springs and anti-rollbar linkages are all hand painted. Bare metal foil is used as the heat shield around the lower edges of the fuel tank.Just needs decals, mirrors and the wings attached to finish this one off.It’s done!Rear view
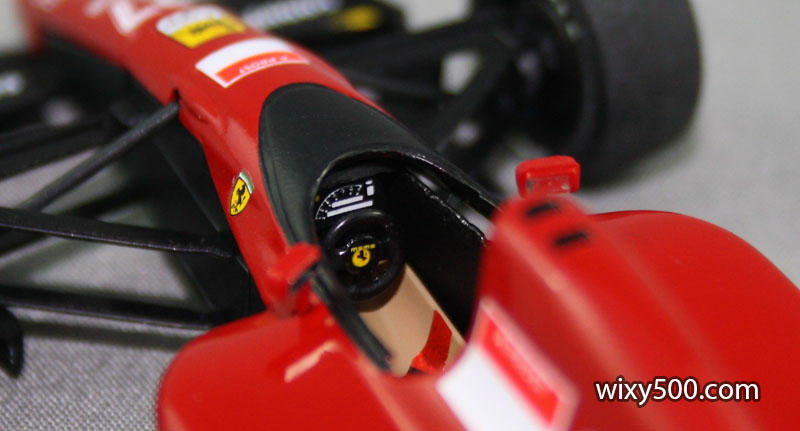
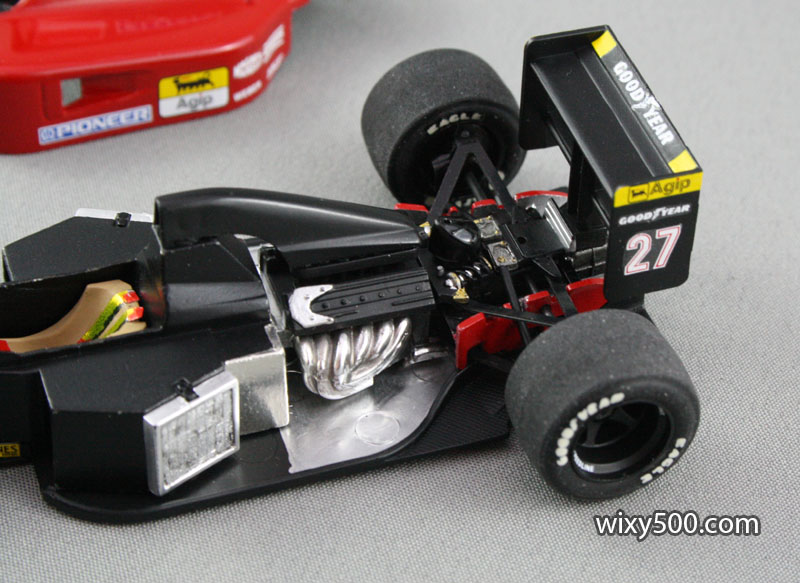
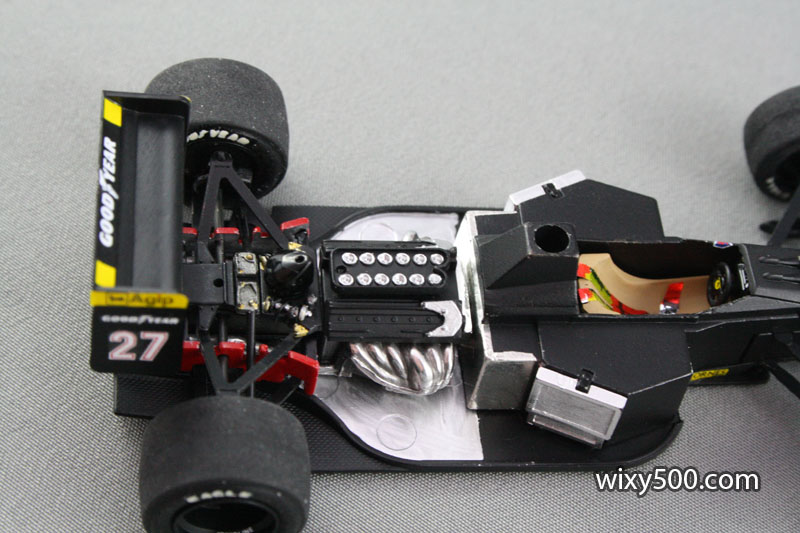
Digital dash is a decal, as is the (very fiddly) rear-view mirror material.Removing the bodywork reveals some basic detail. Somebody with jewelers’ skills (and spare time!) might add pipes to the radiators and build new exhausts.Airbox lifts off, revealing there is no roll-hoop structure on the tub.I’m considering manufacturing my own custom plinths. The grey could work??Or black? (this is a Minichamps plinth)
3 thoughts on “1991 Ferrari 643, Prost (Rosso, 1:43)”
Would you recommend using Bare Metal Foil on the floor under the engine in addition to the wall around the fuel tank?
Yes, BMF would have been better than brush painting. Also, the finish of the floor would be better if the circular injection pin indents were filled prior.


Would you recommend using Bare Metal Foil on the floor under the engine in addition to the wall around the fuel tank?
Yes, BMF would have been better than brush painting. Also, the finish of the floor would be better if the circular injection pin indents were filled prior.
Thanks for the tip Mark. I just picked up the painted version of this model and am looking forward to the build.
The wings, body, seat, and tires/wheels come painted with some of the decals applied.