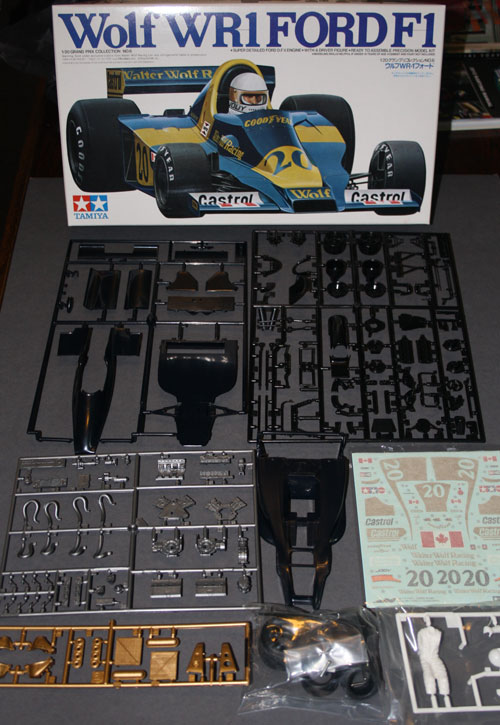
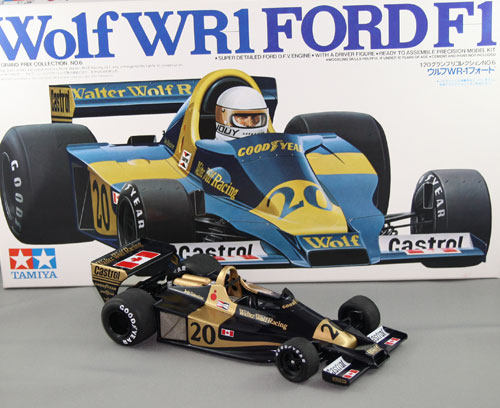
About time I got back to building Tamiya 1:20 F1s! I’ve owned this kit (#20006) for some time and planned a standard out-of-the-box build.
This model has been re-released under number 20064 and from what I hear the newer one is better with improved tyres and numerous photo-etched parts. Having said that, my kit is not the very first release either, as it has Cartograf decals (I’ve read the original release didn’t use this brand??).
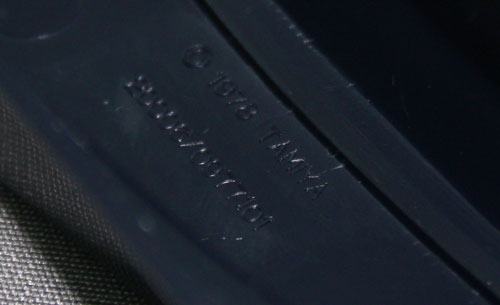
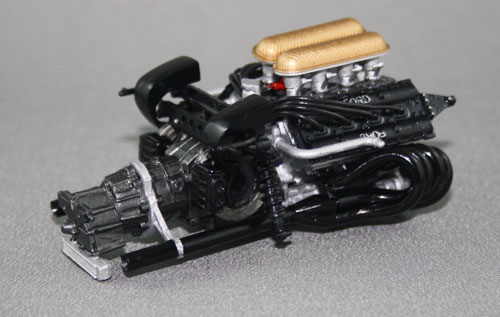
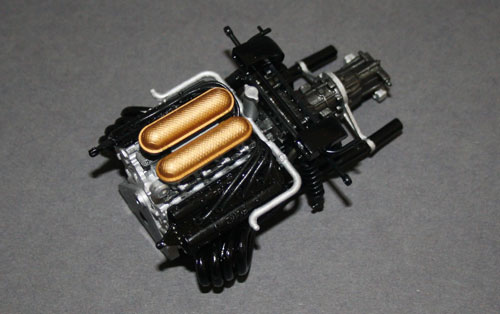
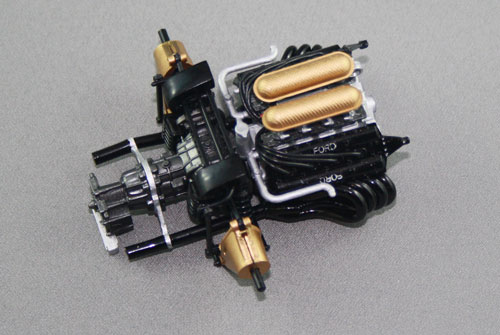
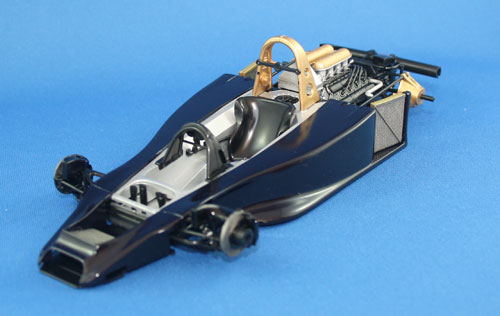
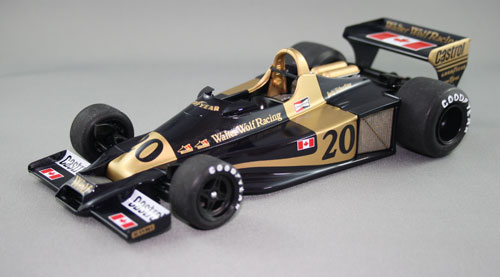
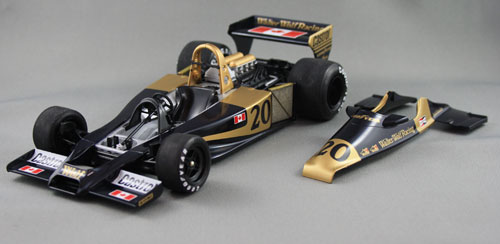
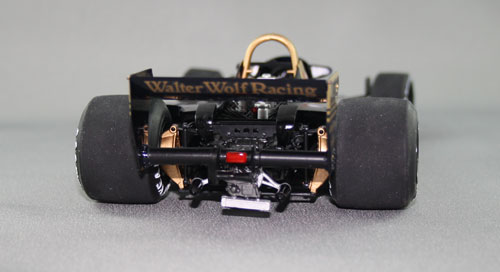
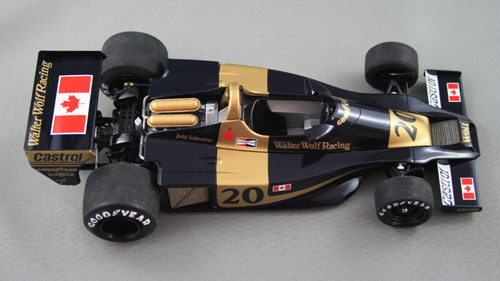
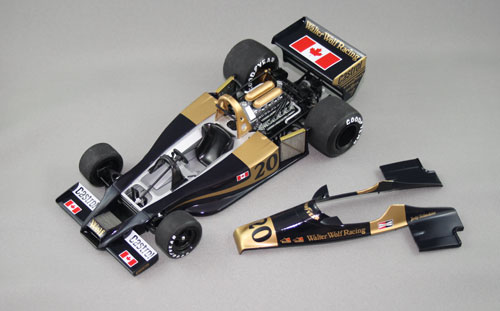
Kit content. First time I’ve built a Tamiya ‘Cosworth’ kit in many many years (the grey parts). There seem to be more parts to build the engine, gearbox and suspension than what the newer kits use. It’s got this stamped into the underside of the main body/monocoque “© 1978 Tamiya, 20006/977101” Anyone know what the 977101 means? The box has “1/20 ITEM 20006*2000” printed on it. Engine and gearbox with some of the rear suspension attached. Here’s a tip for anyone doing this kit: cement individual exhausts into the collector first, then line them up in the engine block – not the other way around! As a result, my exhausts are a little askew. Suspension complete and rear end ready to attach to the chassis The main monocoque section after masking and spraying. The Tamiya TS55 Dark Blue looks almost black! Upper and lower halves of monocoque awaiting the front wings so they can be assembled A ‘dry run’ fit. Once this is glued, it’s just tyres, rear wing, body cowling (almost done) and decals to go! The finished model with clothes on… …and clothes off. Rear view. 70s F1 was all about big rear tyres! Swooping curves and wide hips. All the gold, other than the roll hoop and injector covers, is decal. Getting them to snuggle down on those curves, especially the nose decal, took a LOT of time. The Goodyear lettering on the tyres is painted by hand. I didn’t leave the side radiators gold as per the instructions. Instead, I painted them metallic grey and wiped off the excess while still wet to bring out the mesh detail.